See the announcement about our Honest GitHub Experiment
Go to the repo for "An Honest PI"
GitHub Tutorial
Most Git and GitHub tutorials you’ll find online start with the premise that people want to - or more accurately, the presenter thinks you should - understand the principles and mechanics of version control and what Git is. I’m going to skip all that and assume that you just want to get working with GitHub with as little difficulty as possible, and that you almost exclusively want to work with text documents (what programmer-types call “prose”) once you’re there - not work with computer code.
A deeper question is why GitHub? I’m not going to argue that GitHub is the way to do text collaboration, or even a good way. In fact, this tutorial is part of a project that will investigate in part whether GitHub is useful for large scale text collaboration, to try to understand how people use it and to develop better ways.
By the end of this tutorial, you will have:
1. Setting Up GitHub.com
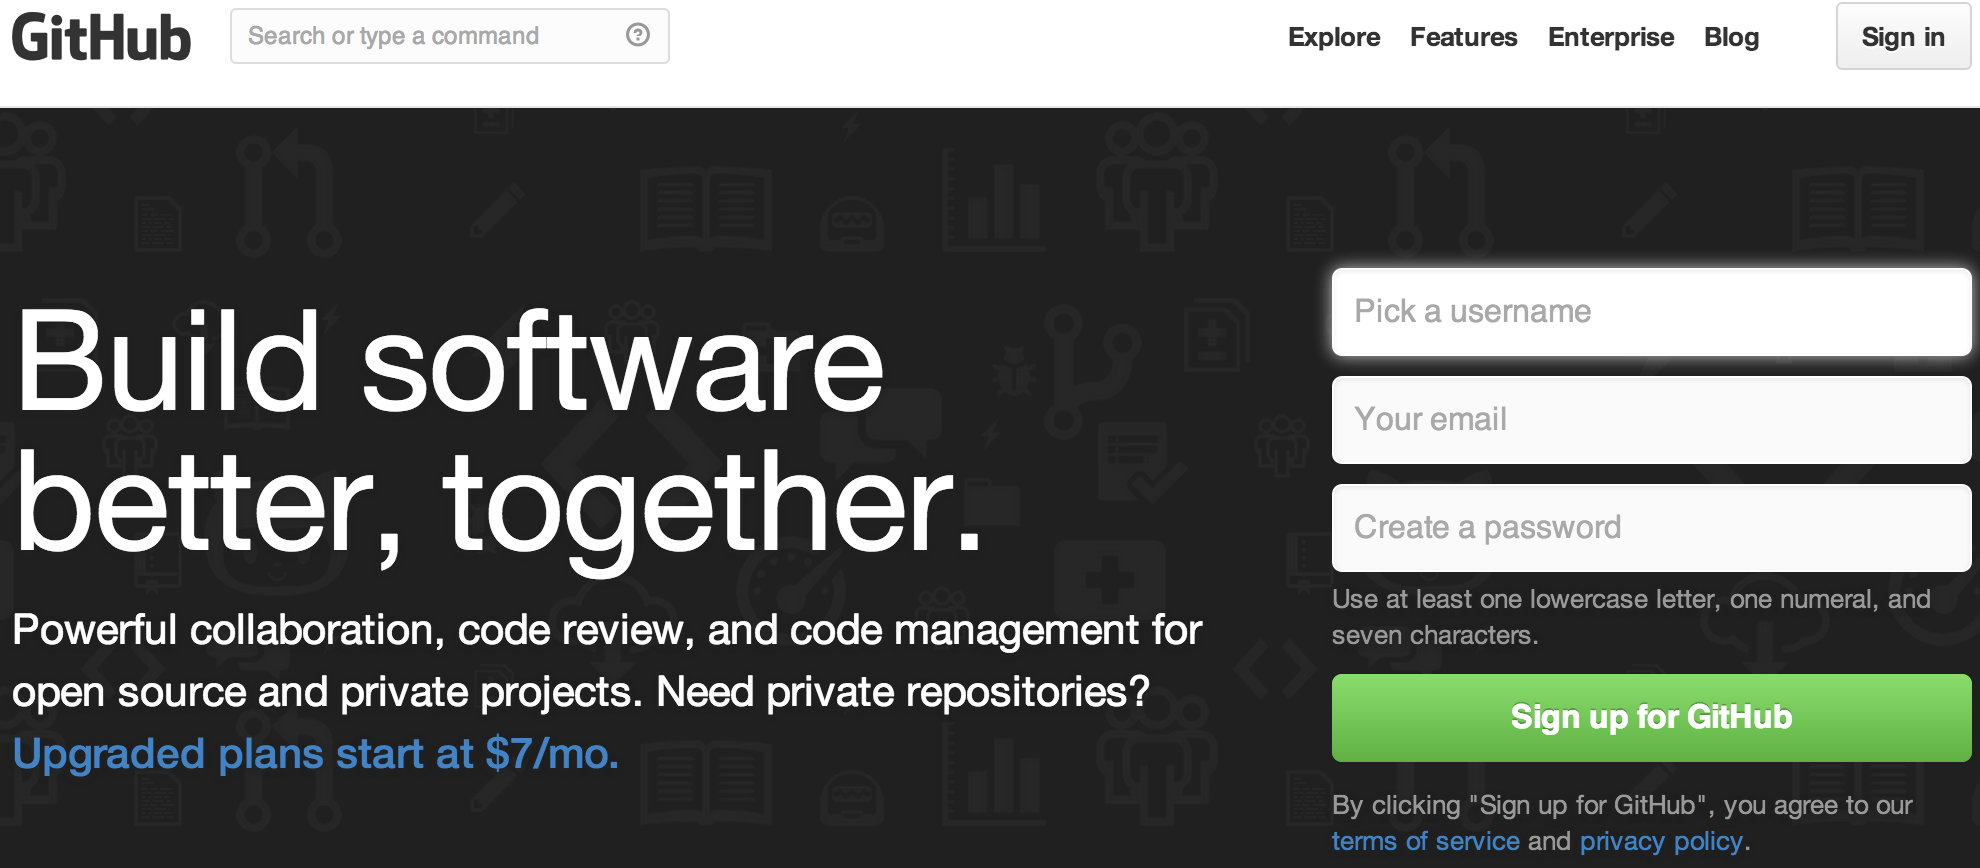
First, you’ll need to sign up for an account on GitHub.com.
<-- Pick a username (no spaces), enter your email address and enter a password of your choosing. <-- Click on “Sign up for GitHub” and the following page will appear: |
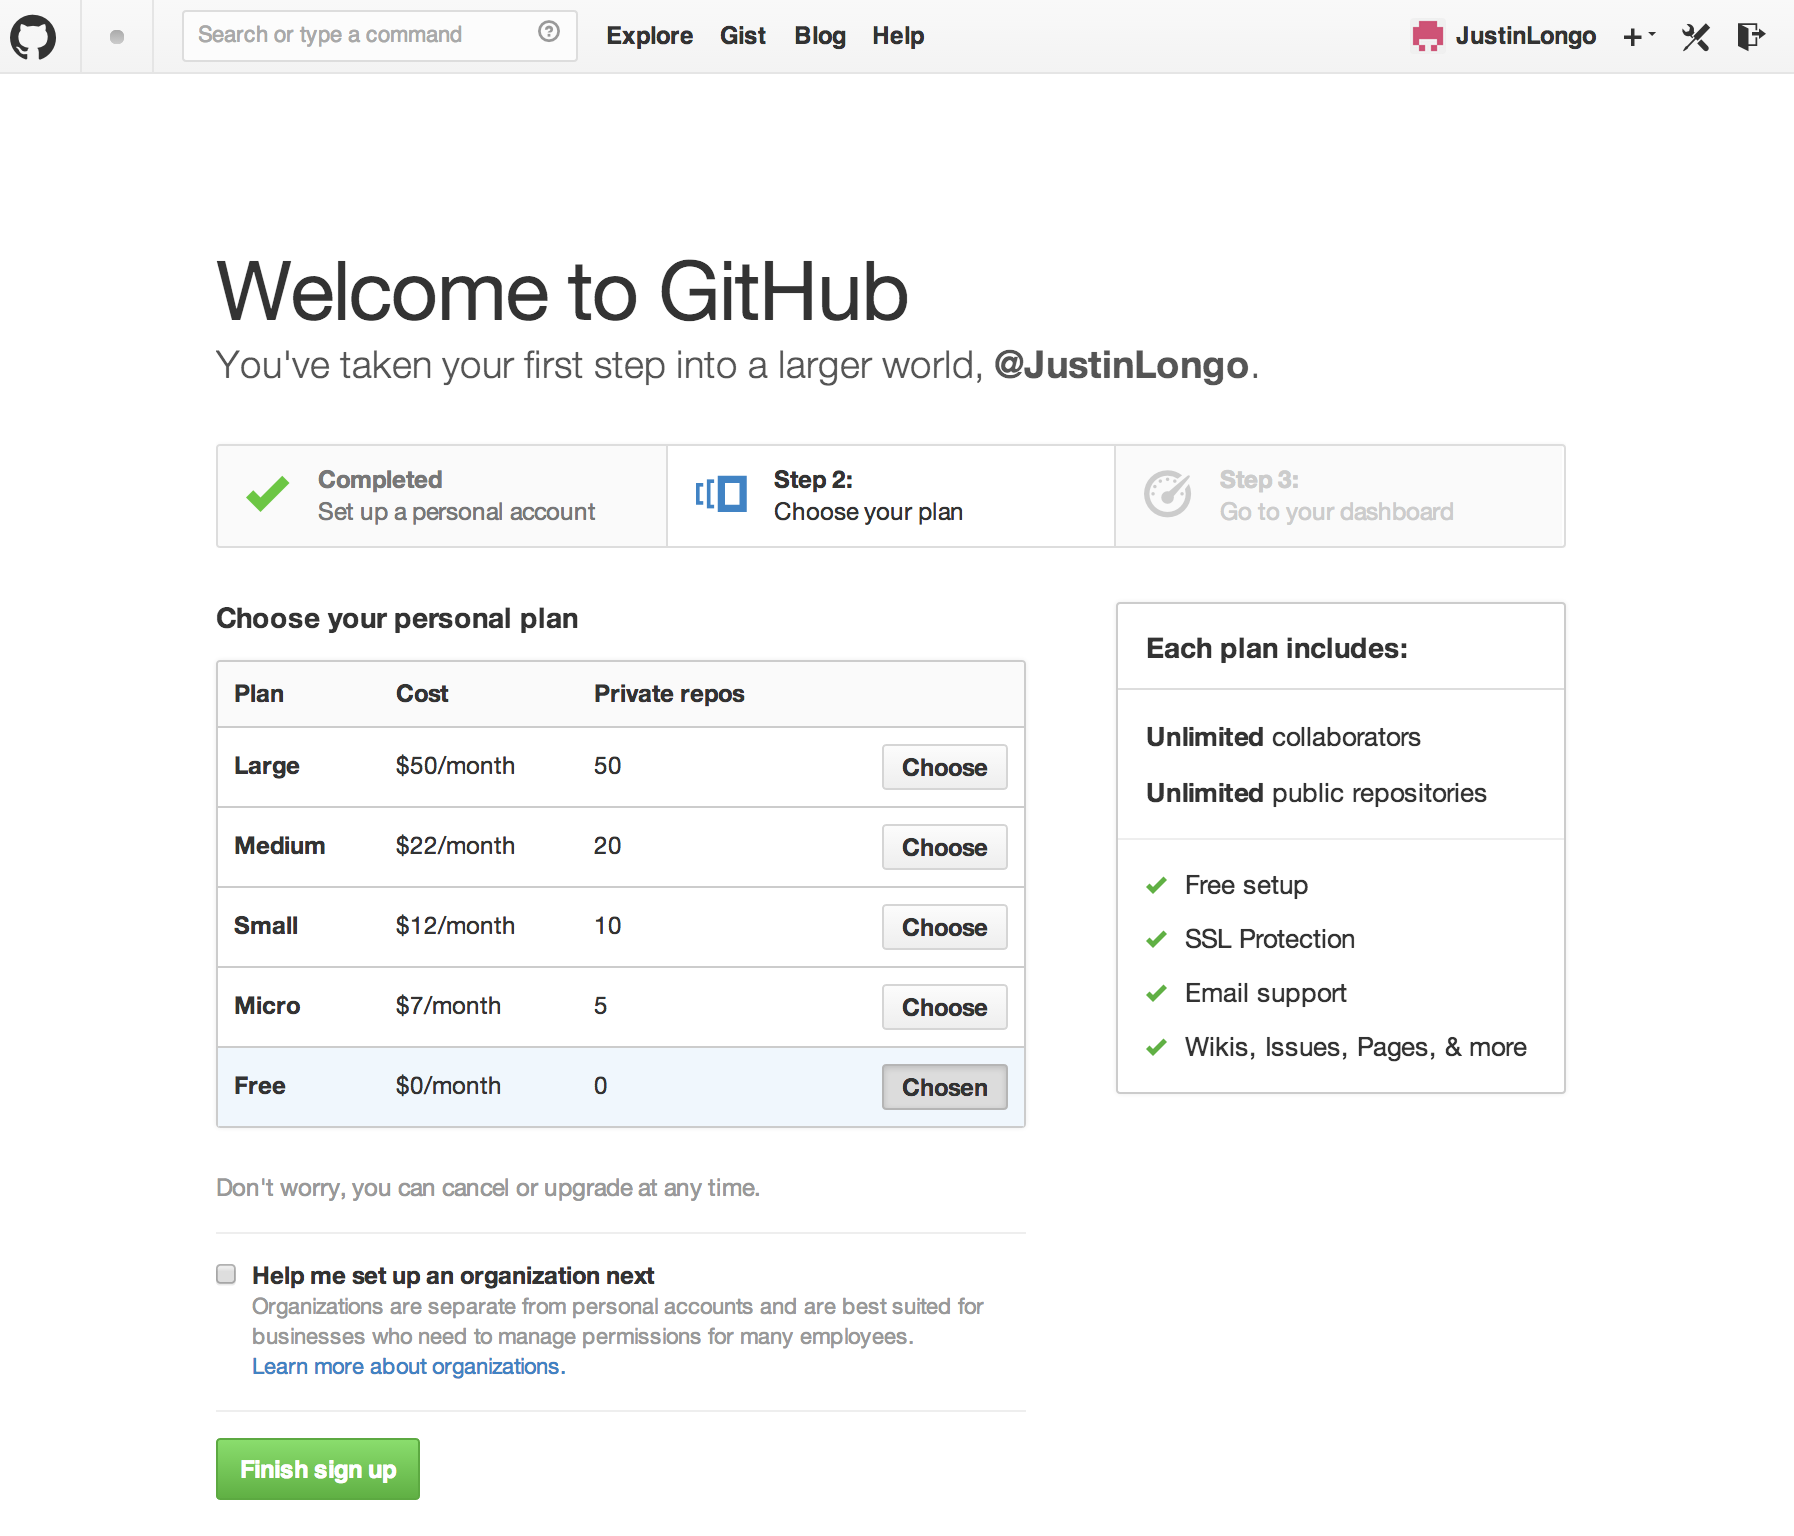
<-- Select the “Free” account. <-- Do not select “Help me set up an organization next”. <-- Click on “Finish sign up”. |
You’ll receive a welcome email from GitHub at the email address you used to register.
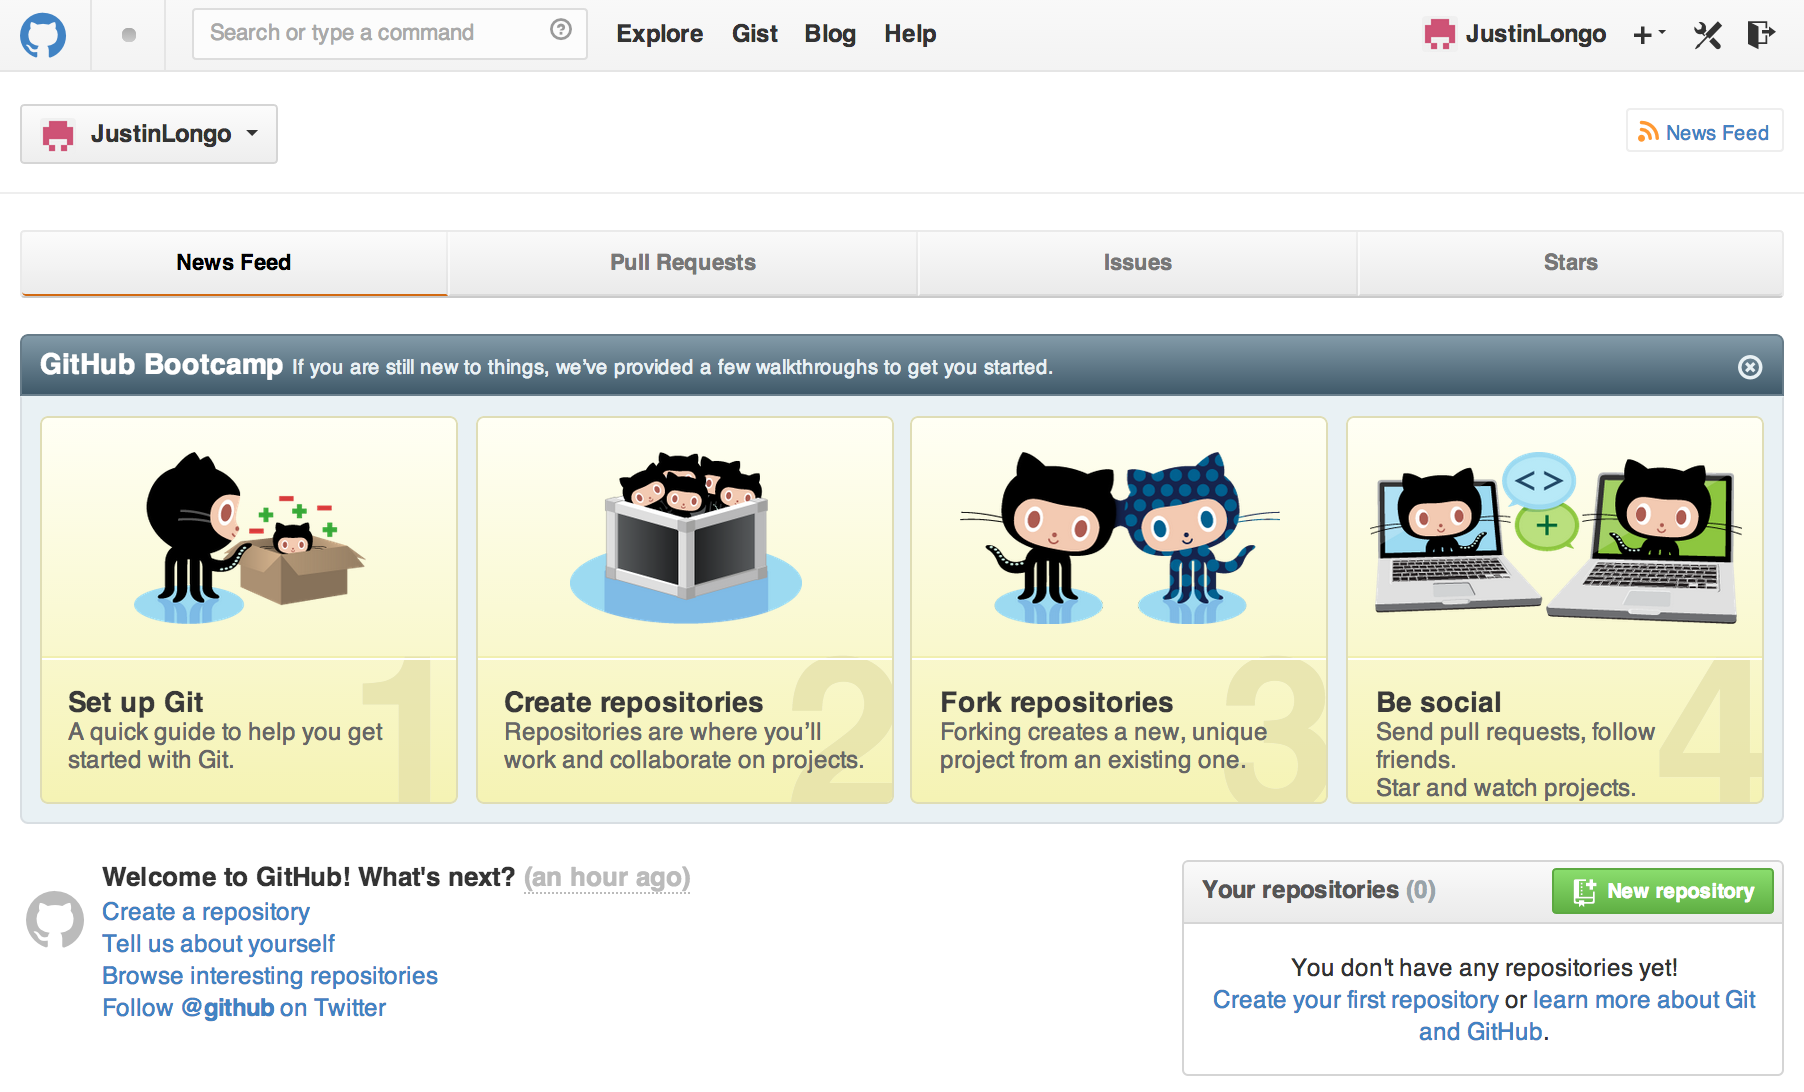
The next page will look like this (get used to the Octocat - you’ll see them a lot):
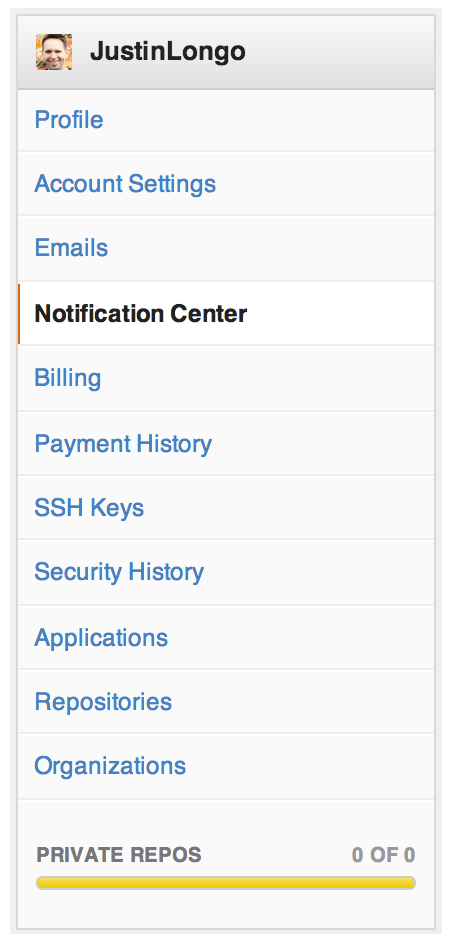
Before we create your first repo, let’s complete your user account set-up:
You should
Check out the other settings available just to familiarize yourself with them - though most of these are not applicable to you just yet. |
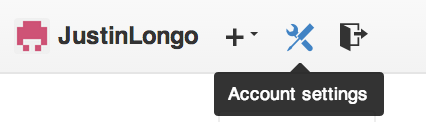
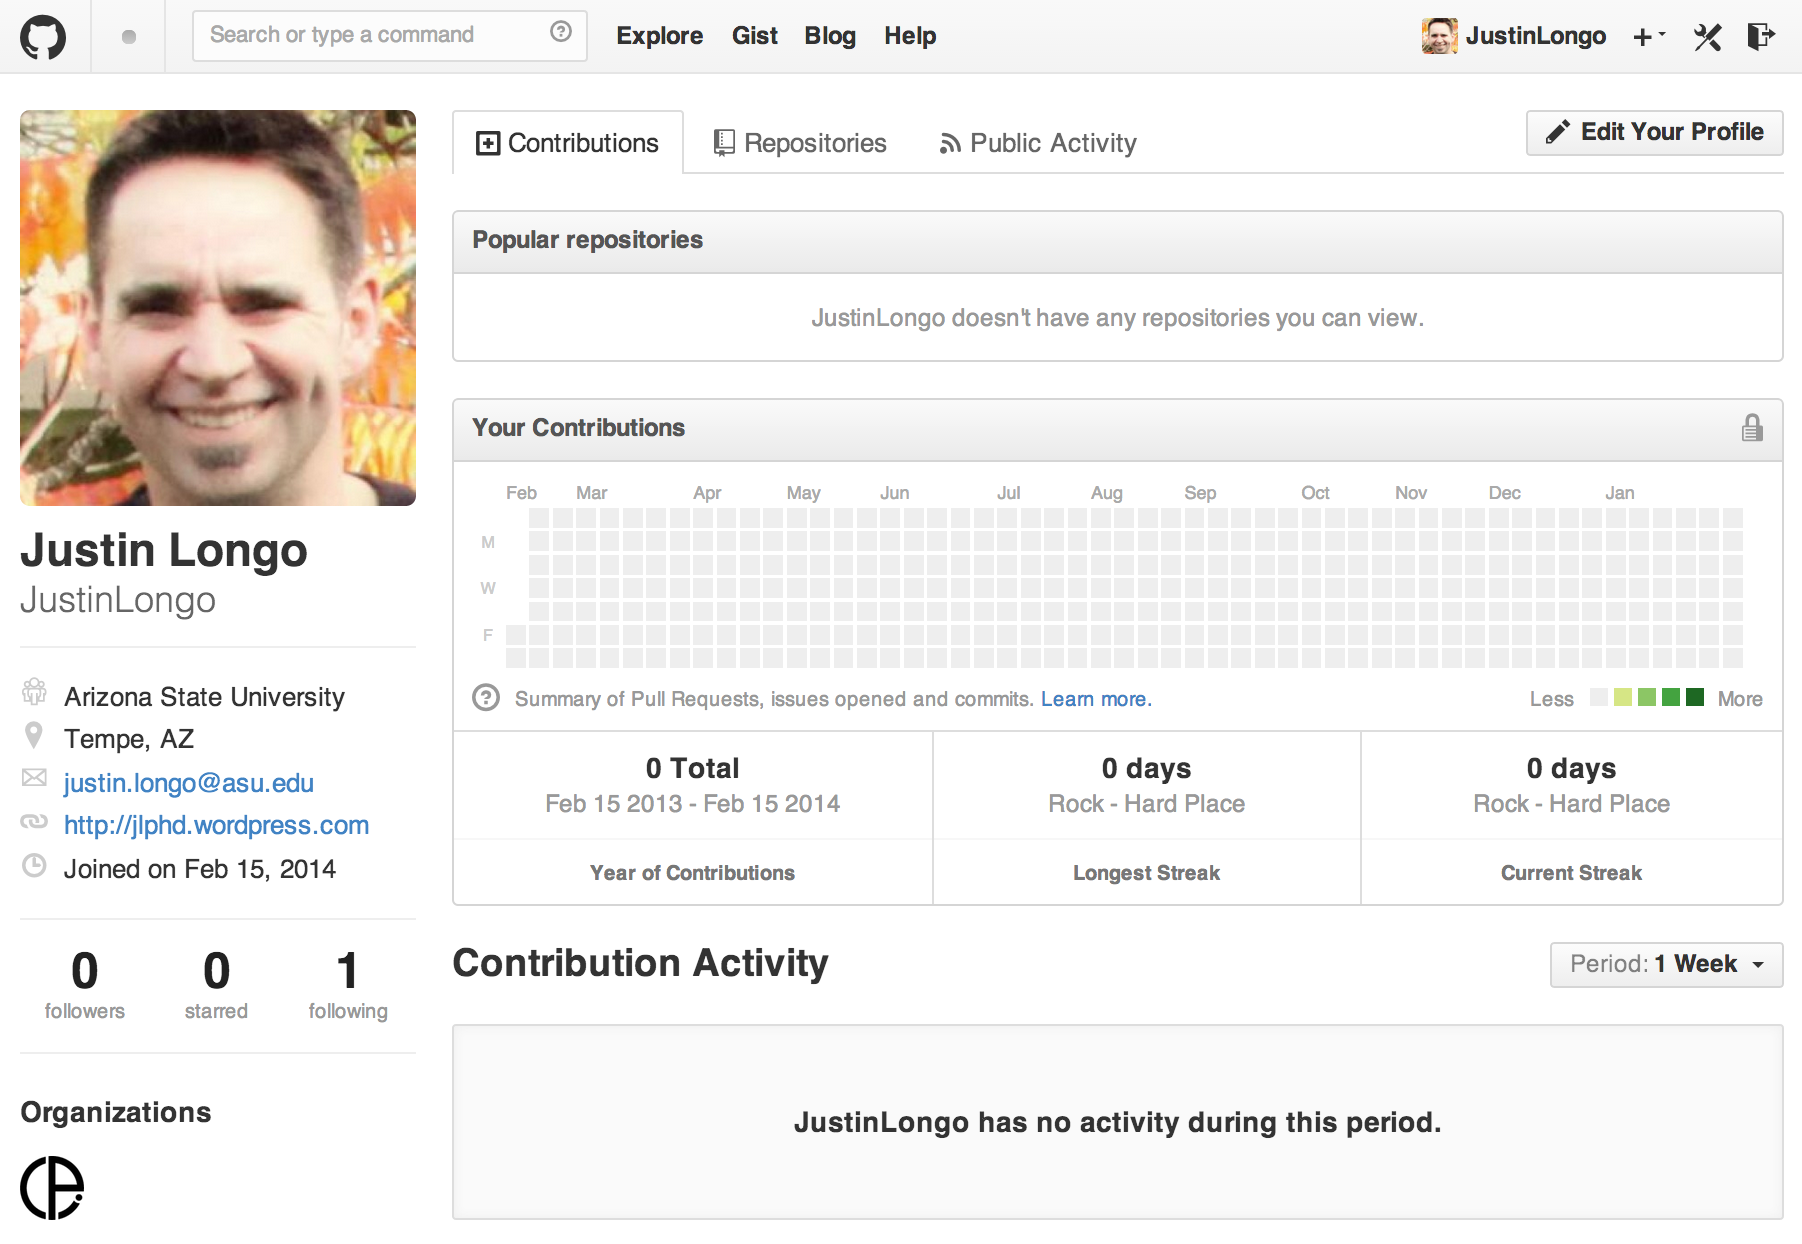
When you’re done and back at the main page, click on your name at the top right corner of the page and you’ll be taken to your brand new profile page:
A repo, or repository, is basically a new project - and it’s really easy to create one. On your profile page, in the top-right corner, select the + icon and click on “New repository” to get to this page:
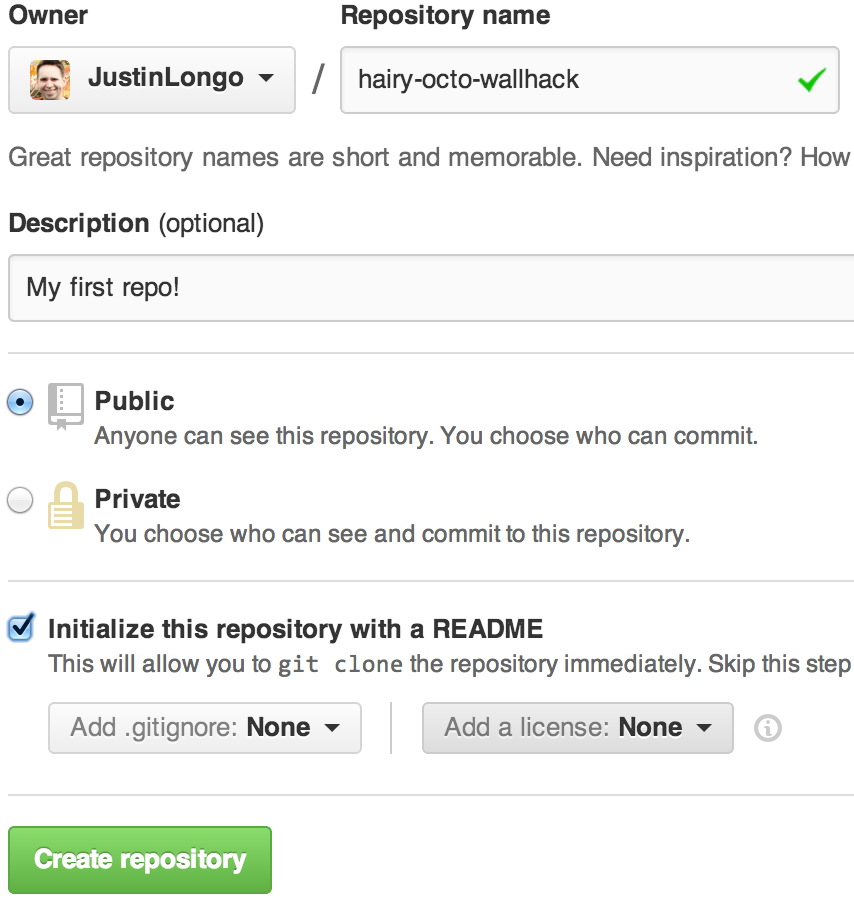
A few things you need to do here before you click “Create Repository”: <-- choose a “Repository name”. You can click on the suggested name (hairy-octo-wallhack in this case) or choose your own. <-- write a short description (“My first repo!” works) <-- mark the repo as “Public” <-- mark the check-box “Initialize this repository with a README” <-- “.gitignore” = None <-- Licence = None (you can add Creative Commons manually). <-- Now click on “Create Repository”. |
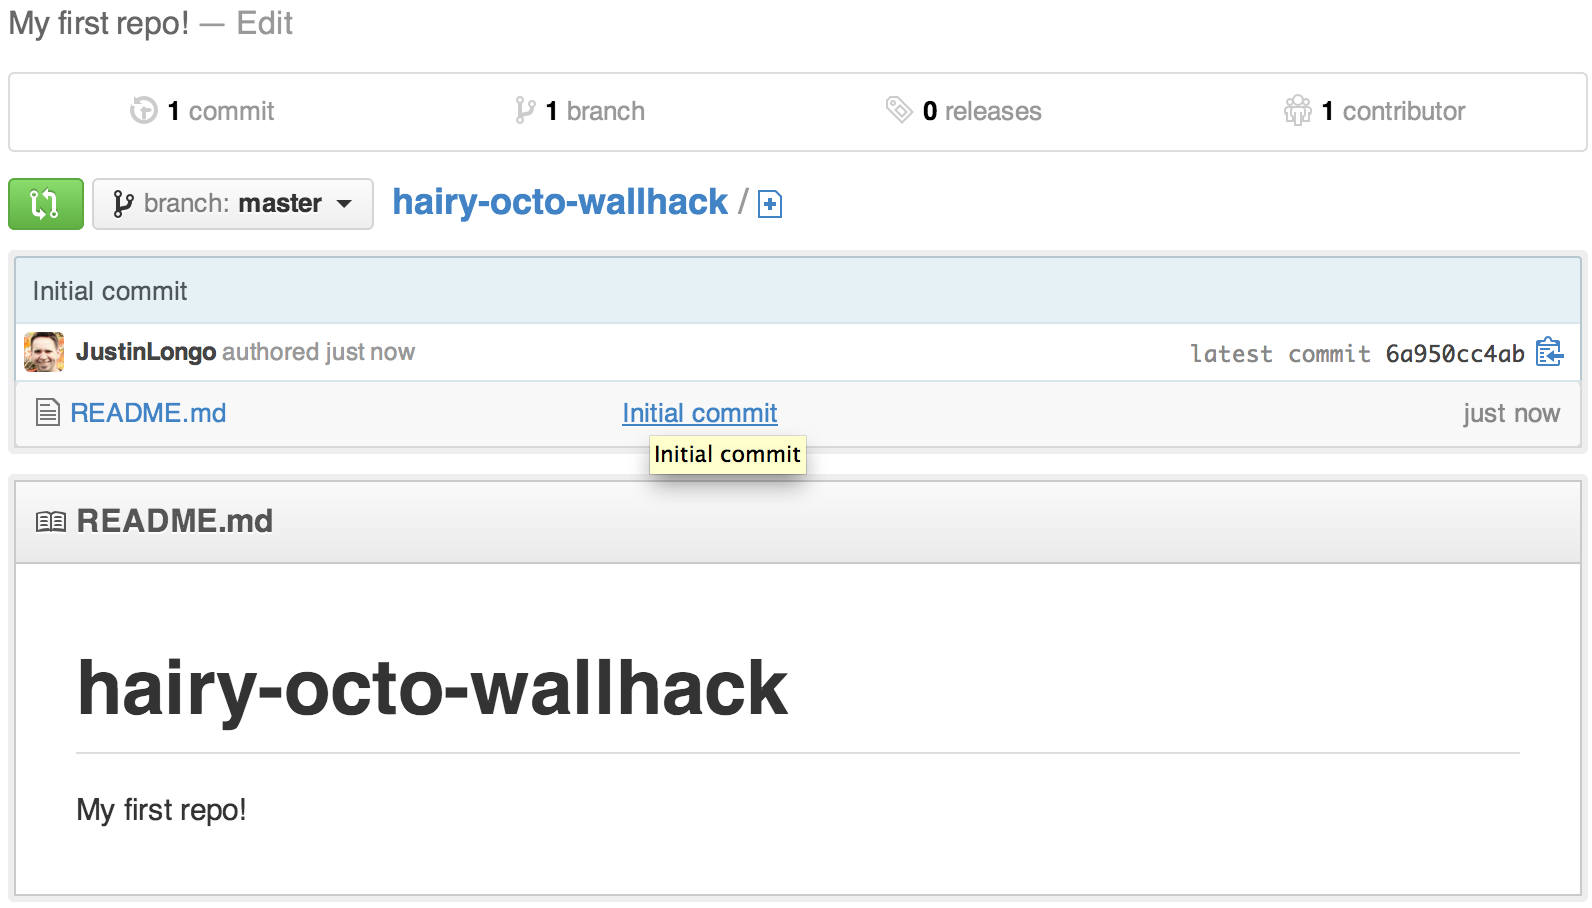
Congratulations - you just created your first repo!!
We’ll come back here in a bit to edit this - but for now, well done! How easy was that?
3. Connect with Other GitHub Users
So far, we’ve only used GitHub in isolation. But GitHub becomes much more interesting and powerful when you connect with other users. I’ll touch on two ways to do that here:
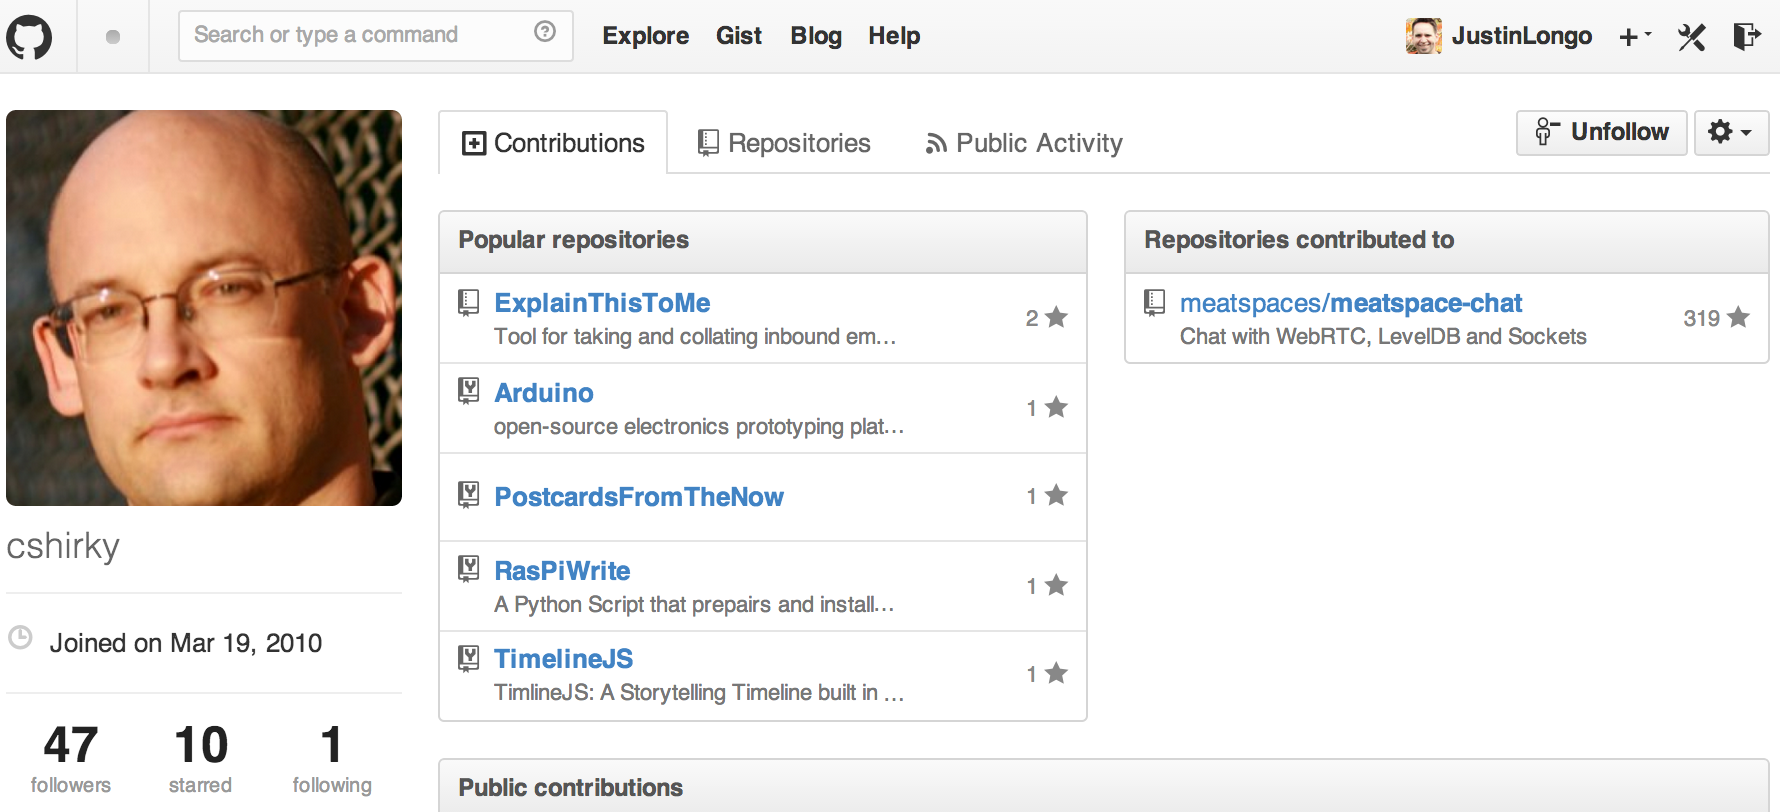
Follow A GitHub User: GitHub lets you see what other people are working on and who they are connecting with. When you follow someone, you'll get notifications on your dashboard about their GitHub activity. In the search box on GitHub.com, type @username or a user’s name to find people, or find projects you like and follow their owner.
<-- Once you are on one of their pages, click the "follow" button. Follow in GitHub is similar to following someone in Twitter. (btw: check out Clay Shirky’s Ted Talk “How the Internet will (one day) transform government” that is the inspiration for using GitHub in the Next Policy Challenge) |
If you’re doing this tutorial in an organized group, this would be a good time to follow each other.
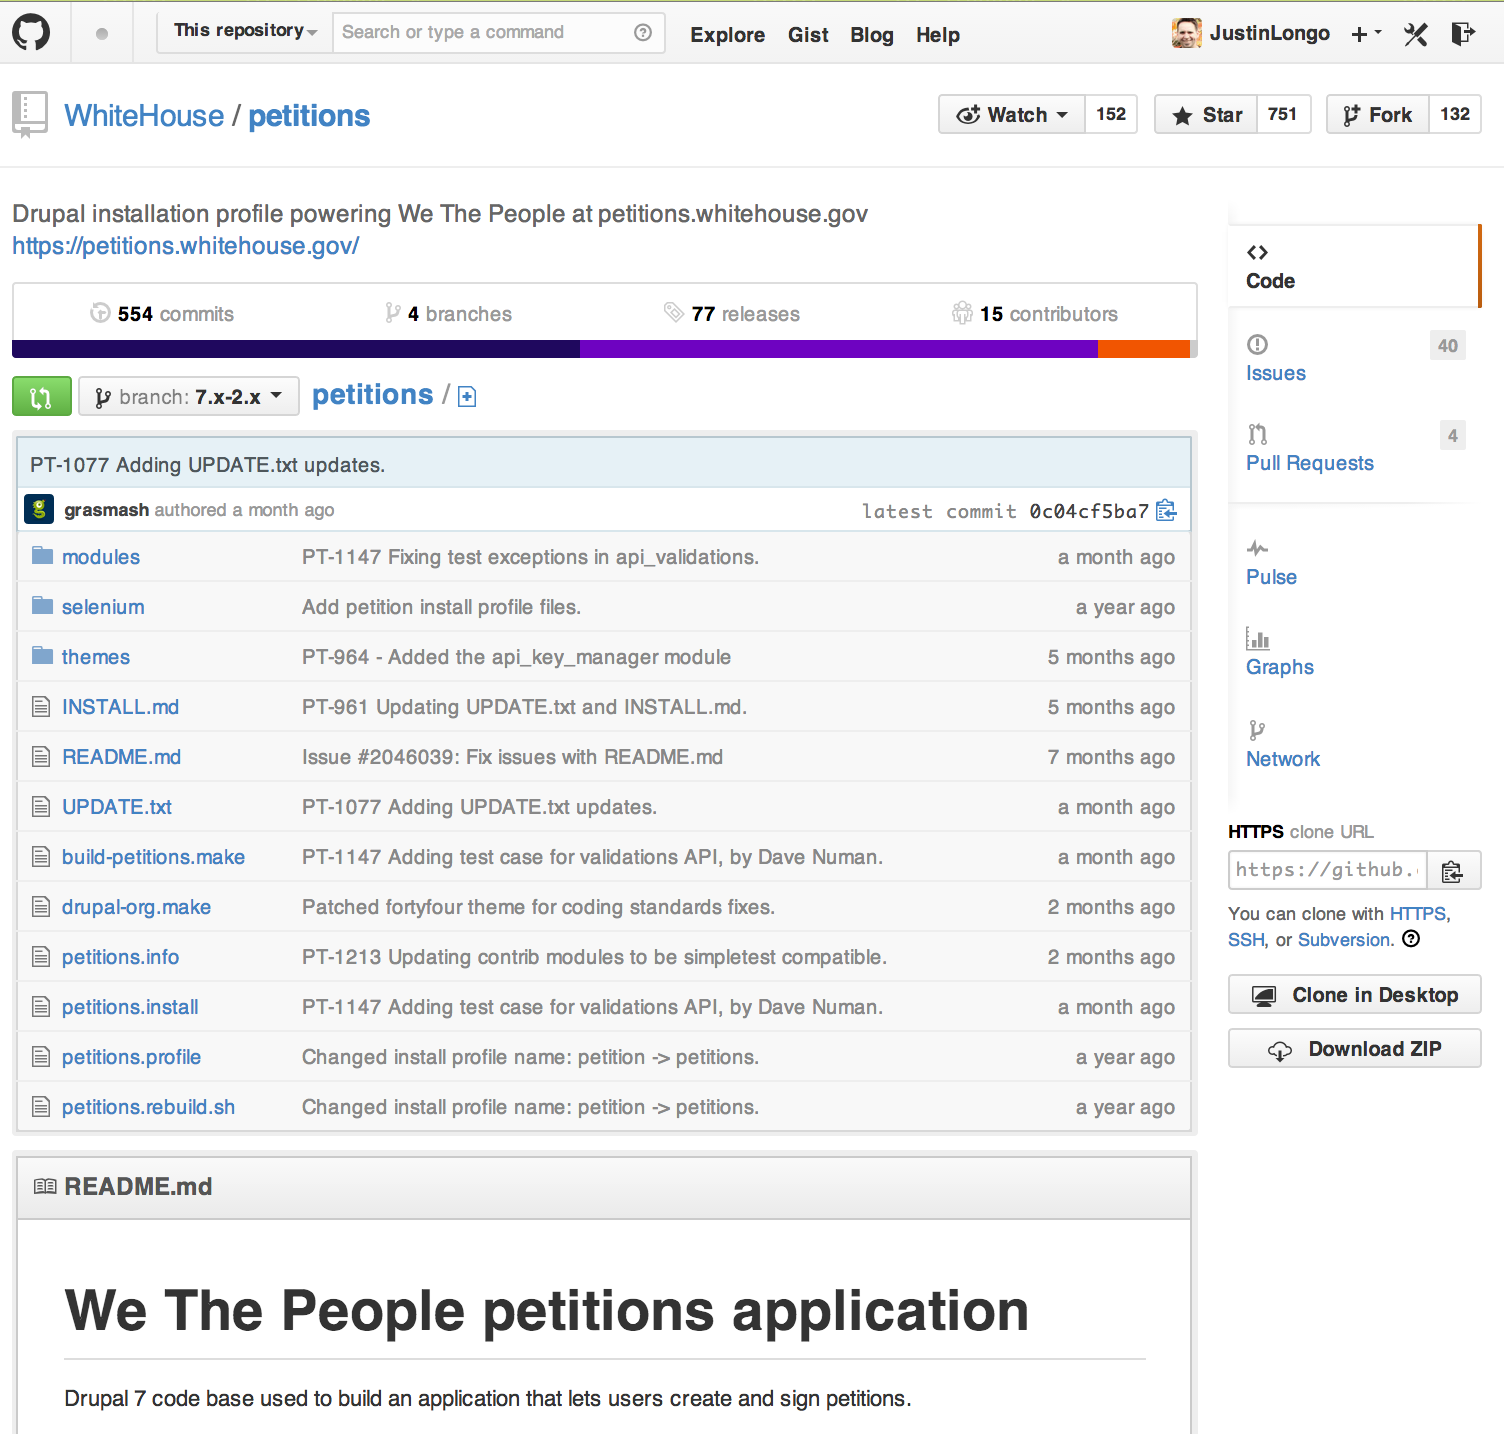
Watch A Project: Search for a project page (e.g., The White House “We the People” project) and then:
<-- click on the "watch" button at the top of the page. "Watch" is like following a project, and means that you'll see all of that project's commits in your timeline. You can also “star” a project to bookmark it. And (as we’ll see next), you can fork it.
|
Not only can you follow and watch other people and projects - you can also work on their projects without being asked. You may be interested to have a closer look at what they’re doing, to contribute to their project, or use their work as the starting point for your own (but always pay attention to their licensing - which should be clear in the project README file). This is known as "forking" as in “a fork in the road”.
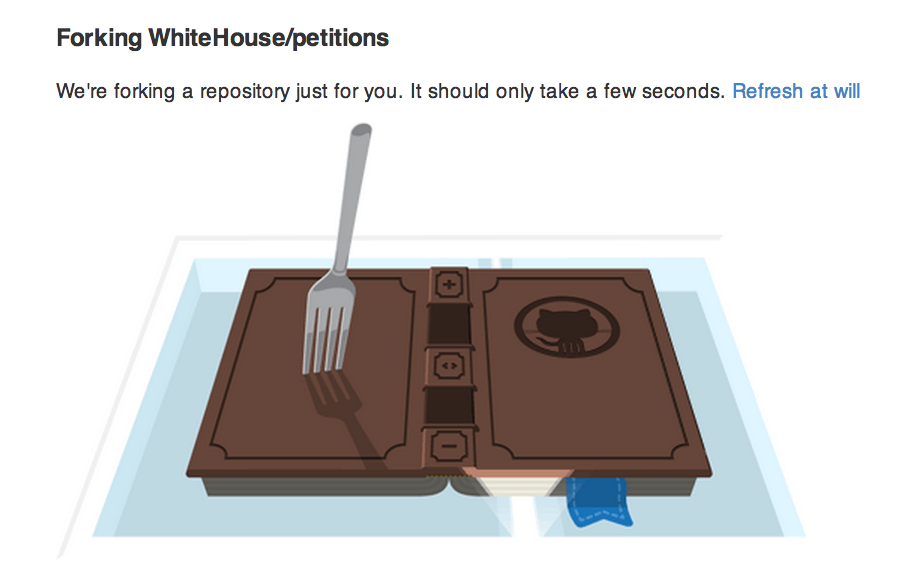
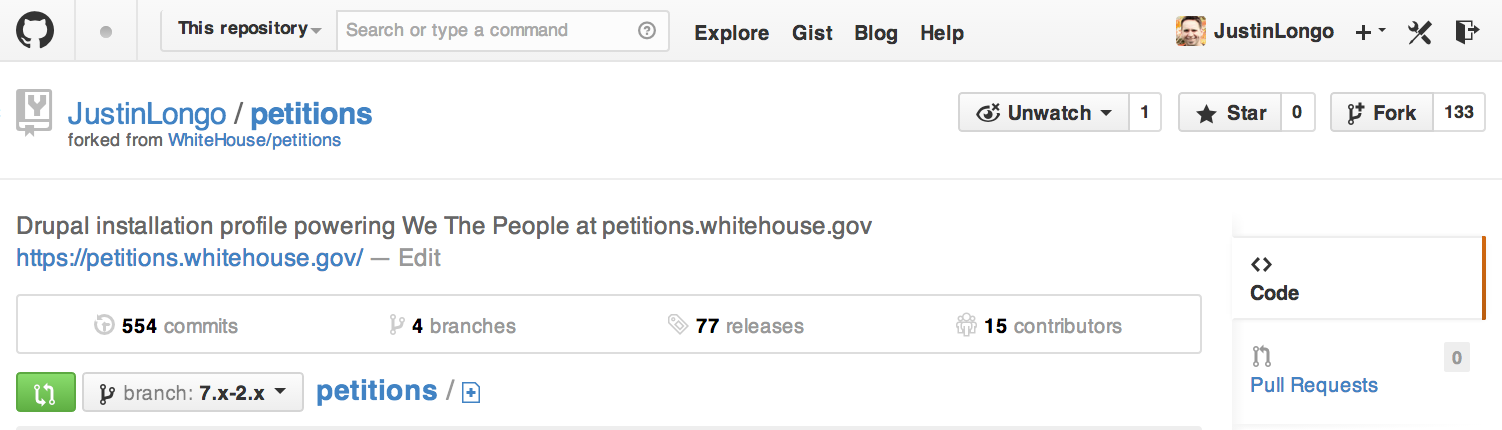
To fork a project, just go to the repo you’re interested in, and click the button.
Some magic happens:
And a few seconds later, the repo is now in your account:
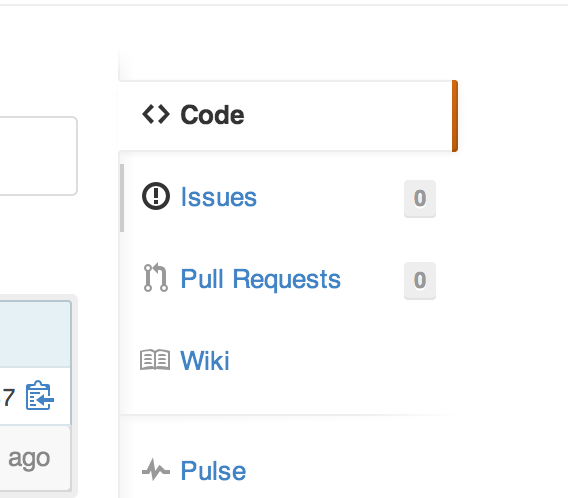
So you come across a problem that you think needs to be fixed, or you want to suggest an improvement. To help you keep track of these problems, each GitHub repository has a section called “Issues”. Go to the original repo (not the repo you forked to your account) on GitHub.com and click on the Issues tab:
Click on the button, enter a title and describe the issue.
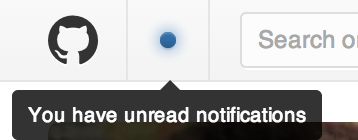
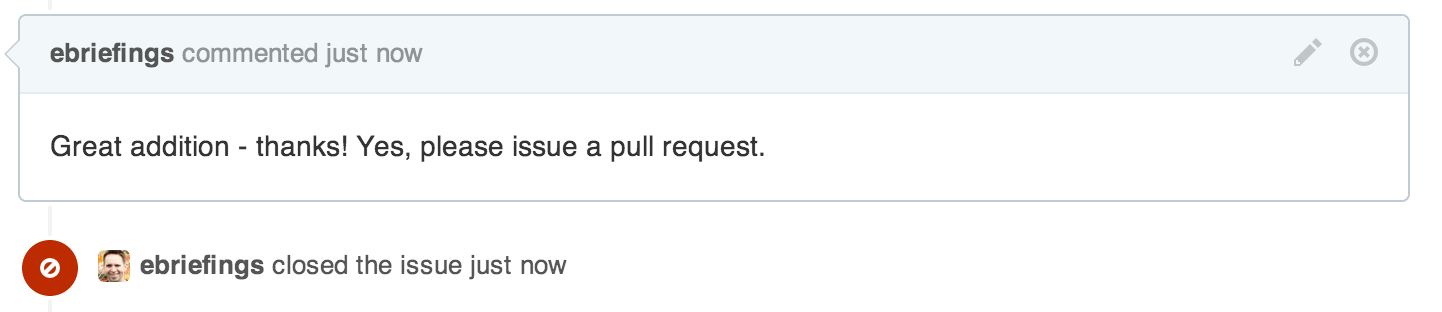
The owner of the original repo will receive a notification like this ; then she’ll read your issue and respond to it with either a comment or a one-button “close & comment”:
Go to your notifications where you’ll see the response (you’ll also receive an email notification if you’re set up for that).
Also, see this very fun issue comment thread related to the October 2013 government shutdown.
Pull requests are how you tell other GitHub users that you think you can make their repo better - think of it as an issue with a proposed solution. Once a pull request is sent, the owner of the original repo can review the changes, discuss potential modifications, and decide if they want to incorporate them.
This is distinct from an issue (as in step 5, above, where you could indicate that you think you can make an improvement, but haven't actually gone about it yet). With a “pull request” you are suggesting a specific set of changes that you made in your own fork and you are asking the original owner to “pull” them into the original repo (a "changeset" or "patch").
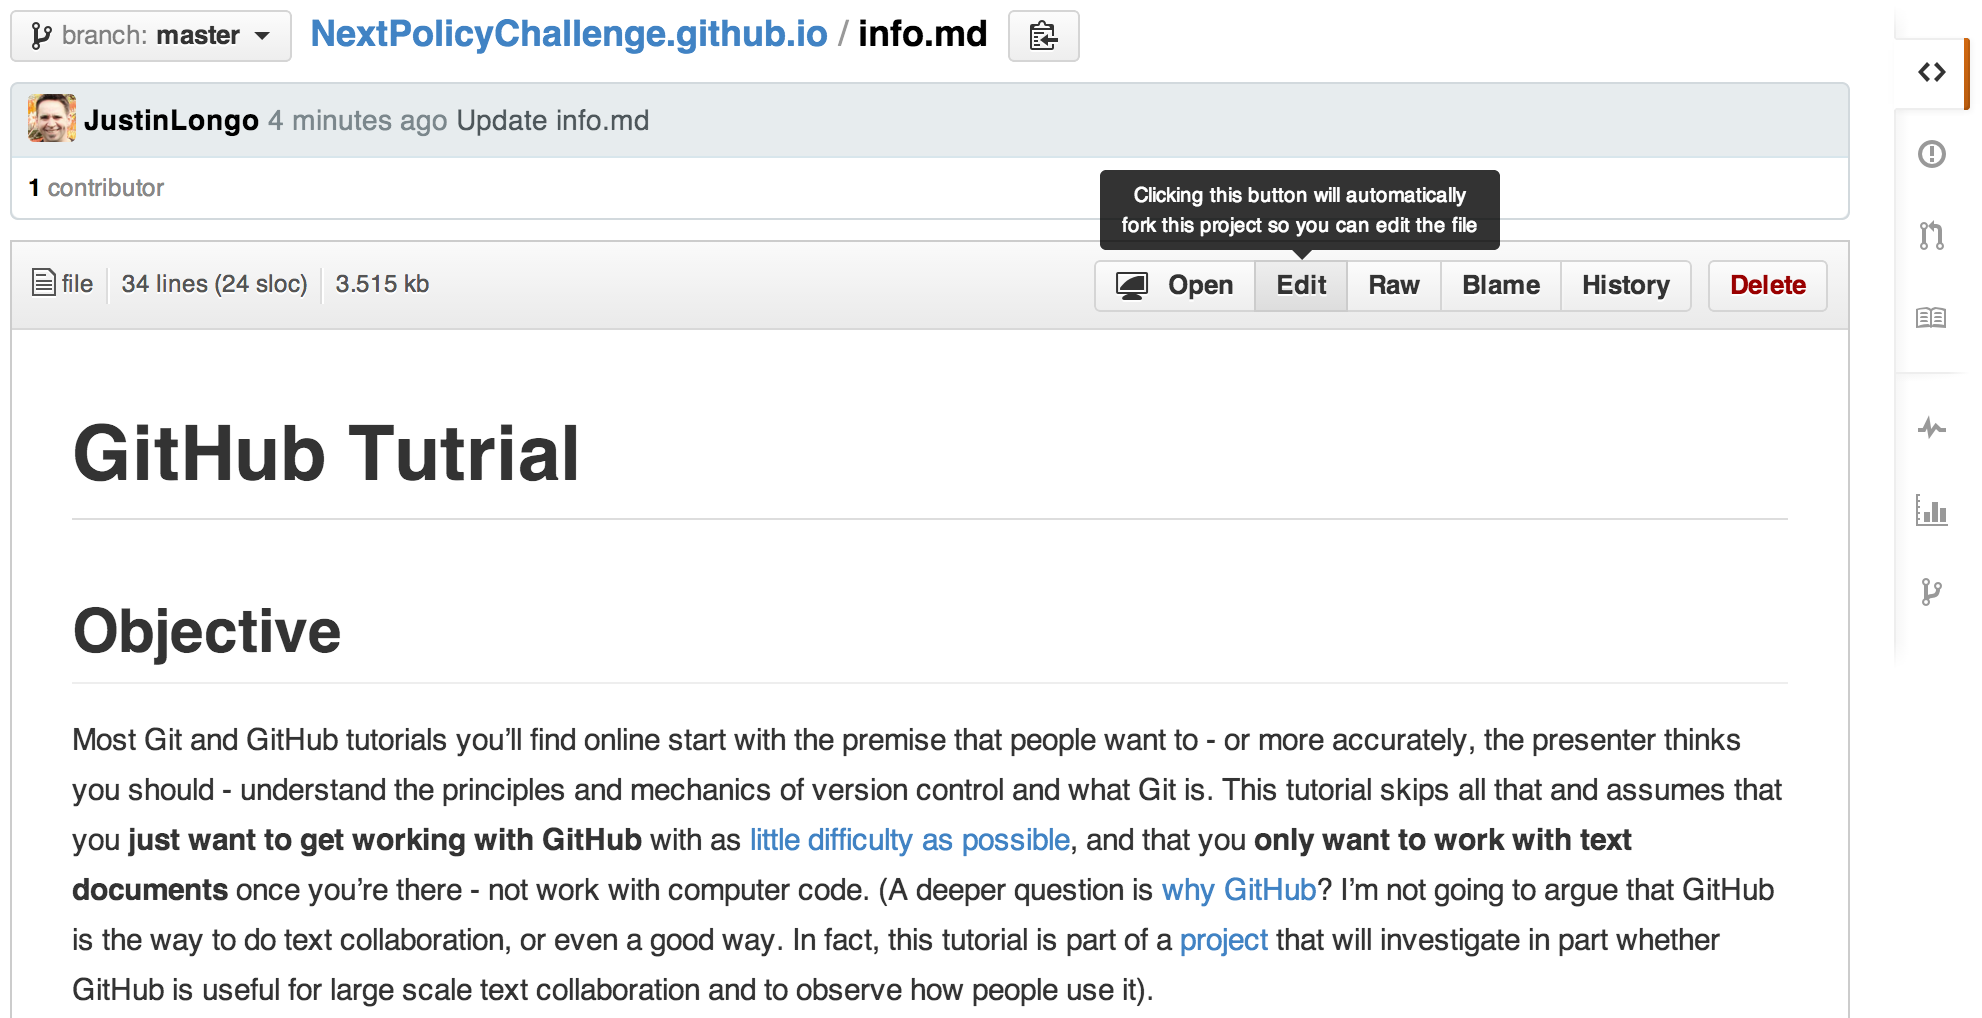
There are several ways to change a file, but let’s try the simplest way: say you find a spelling mistake on a page you’re looking at that someone else owns:
“Tutrial”. Well that’s just wrong.
<-- Click the “Edit” button. Because this isn’t your page, GitHub is going to automatically fork it for you. |
See the notice in the blue box? --> No problem: make the change --> |
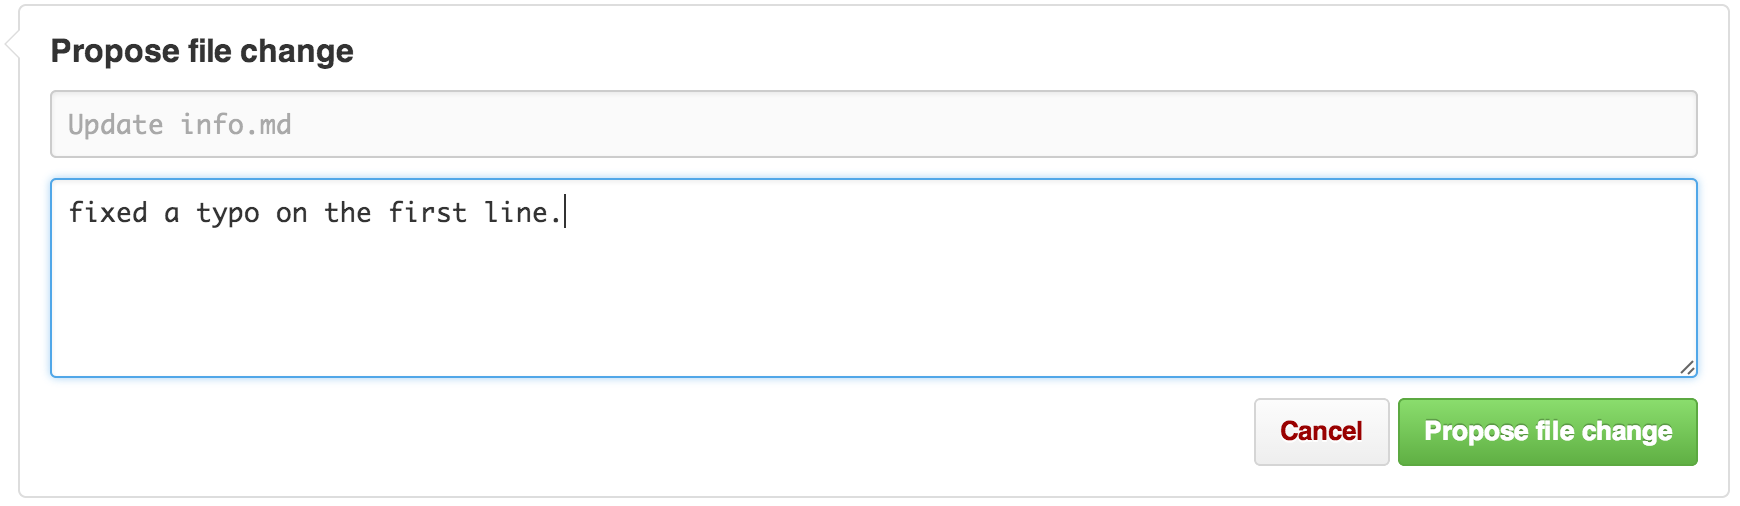
Then scroll to the bottom of the page:
<-- label your change and describe it
<-- and then “Propose file change” |
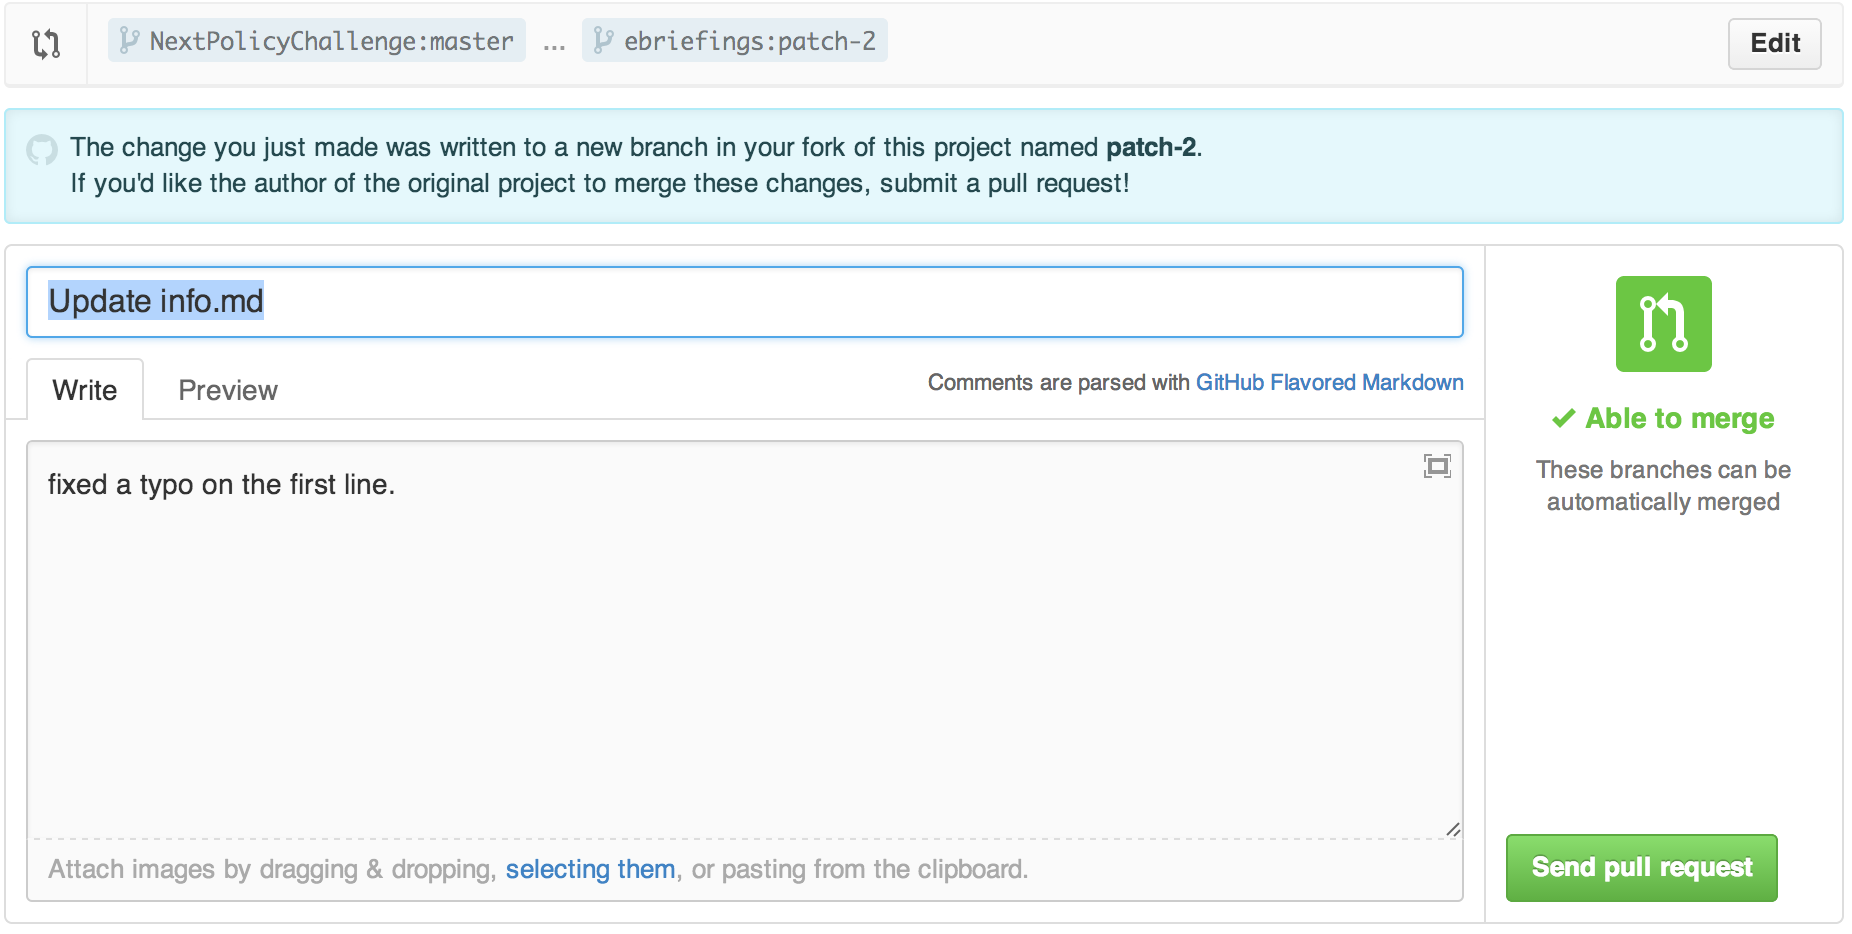
On the next page you'll see this:
<-- Your title and description are brought over from the previous page. At the bottom of this page, you’ll see the “diff” that shows precisely what you changed - things you deleted are in red, stuff you added is in green. <-- Click on “Send pull request”. Now the owner of the file will receive your pull request |
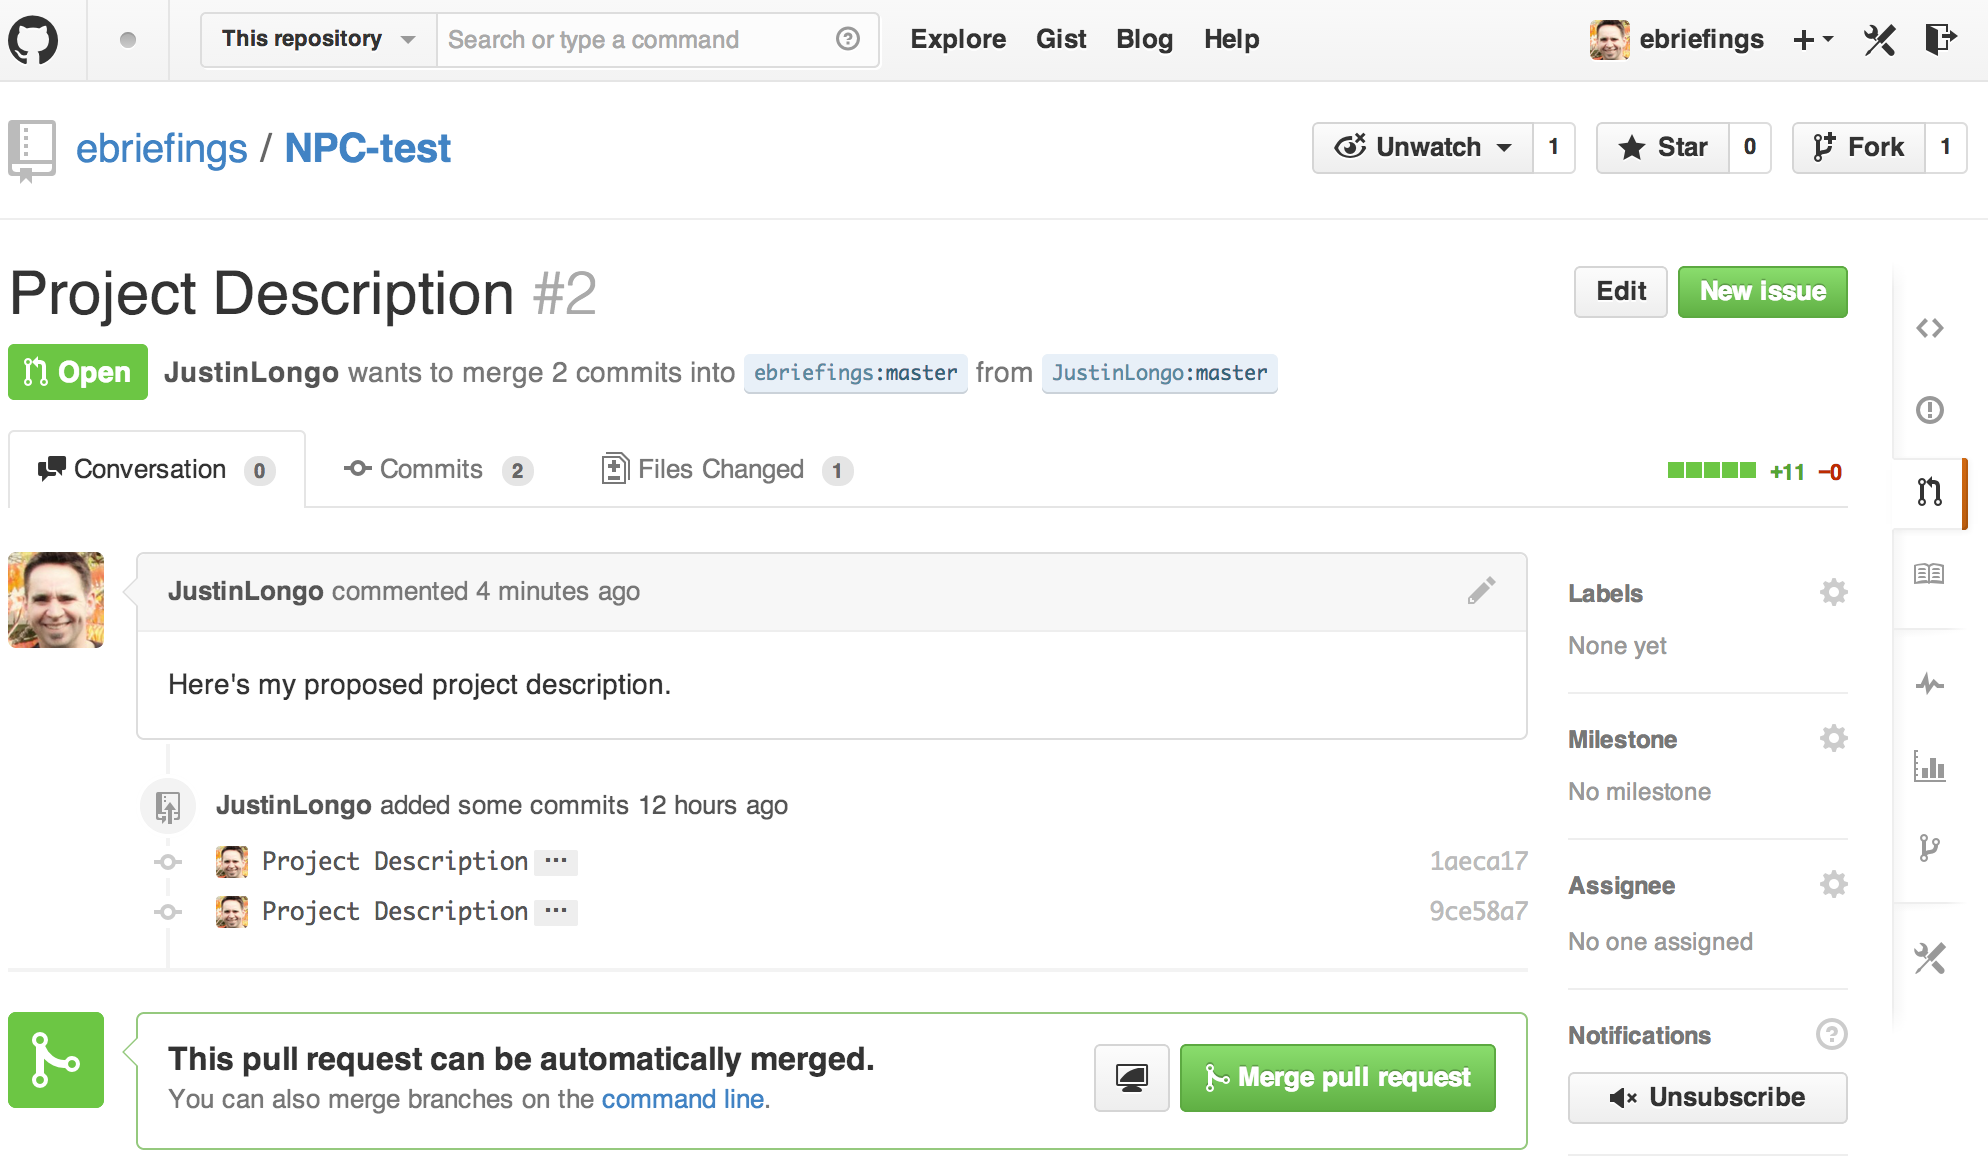
So let’s put you in the position of the person receiving the pull request. You receive a notification in GitHub.com and by email, and you now have to review and decide whether to accept it - i.e., to “merge” the pull request with your repo:
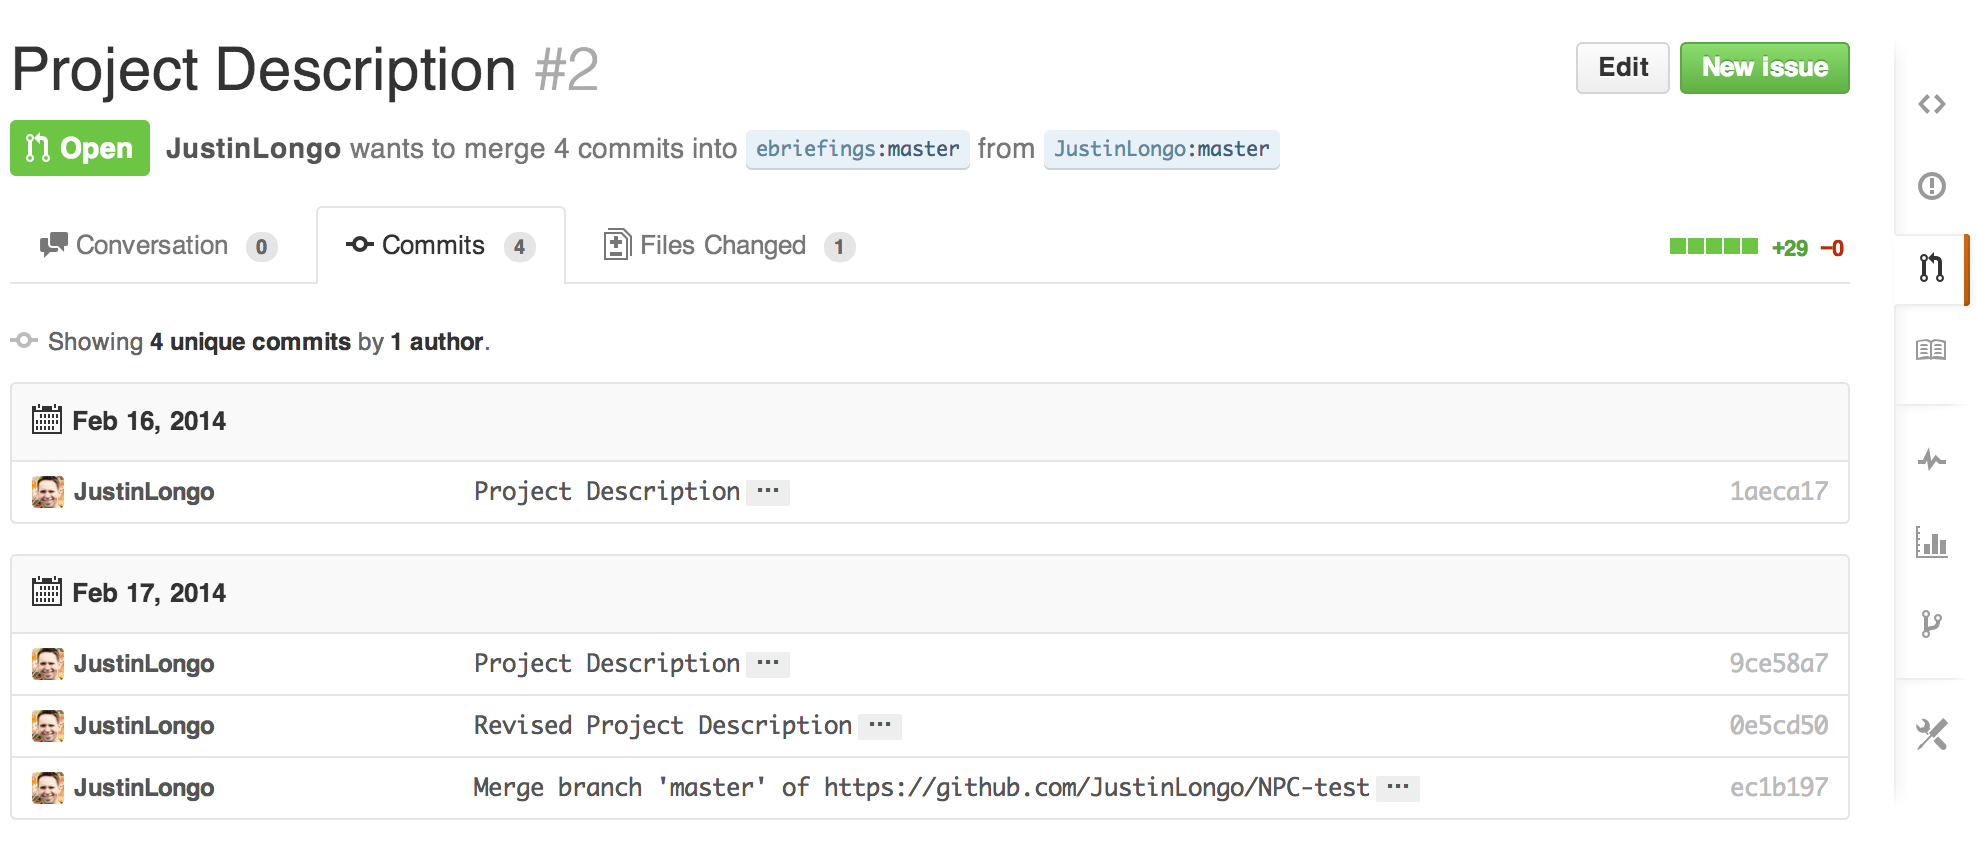
When you receive a pull request, the first thing you do is review the set of proposed changes. Click on the “Commits” tab to see exactly what commits would be merged should the request be accepted:
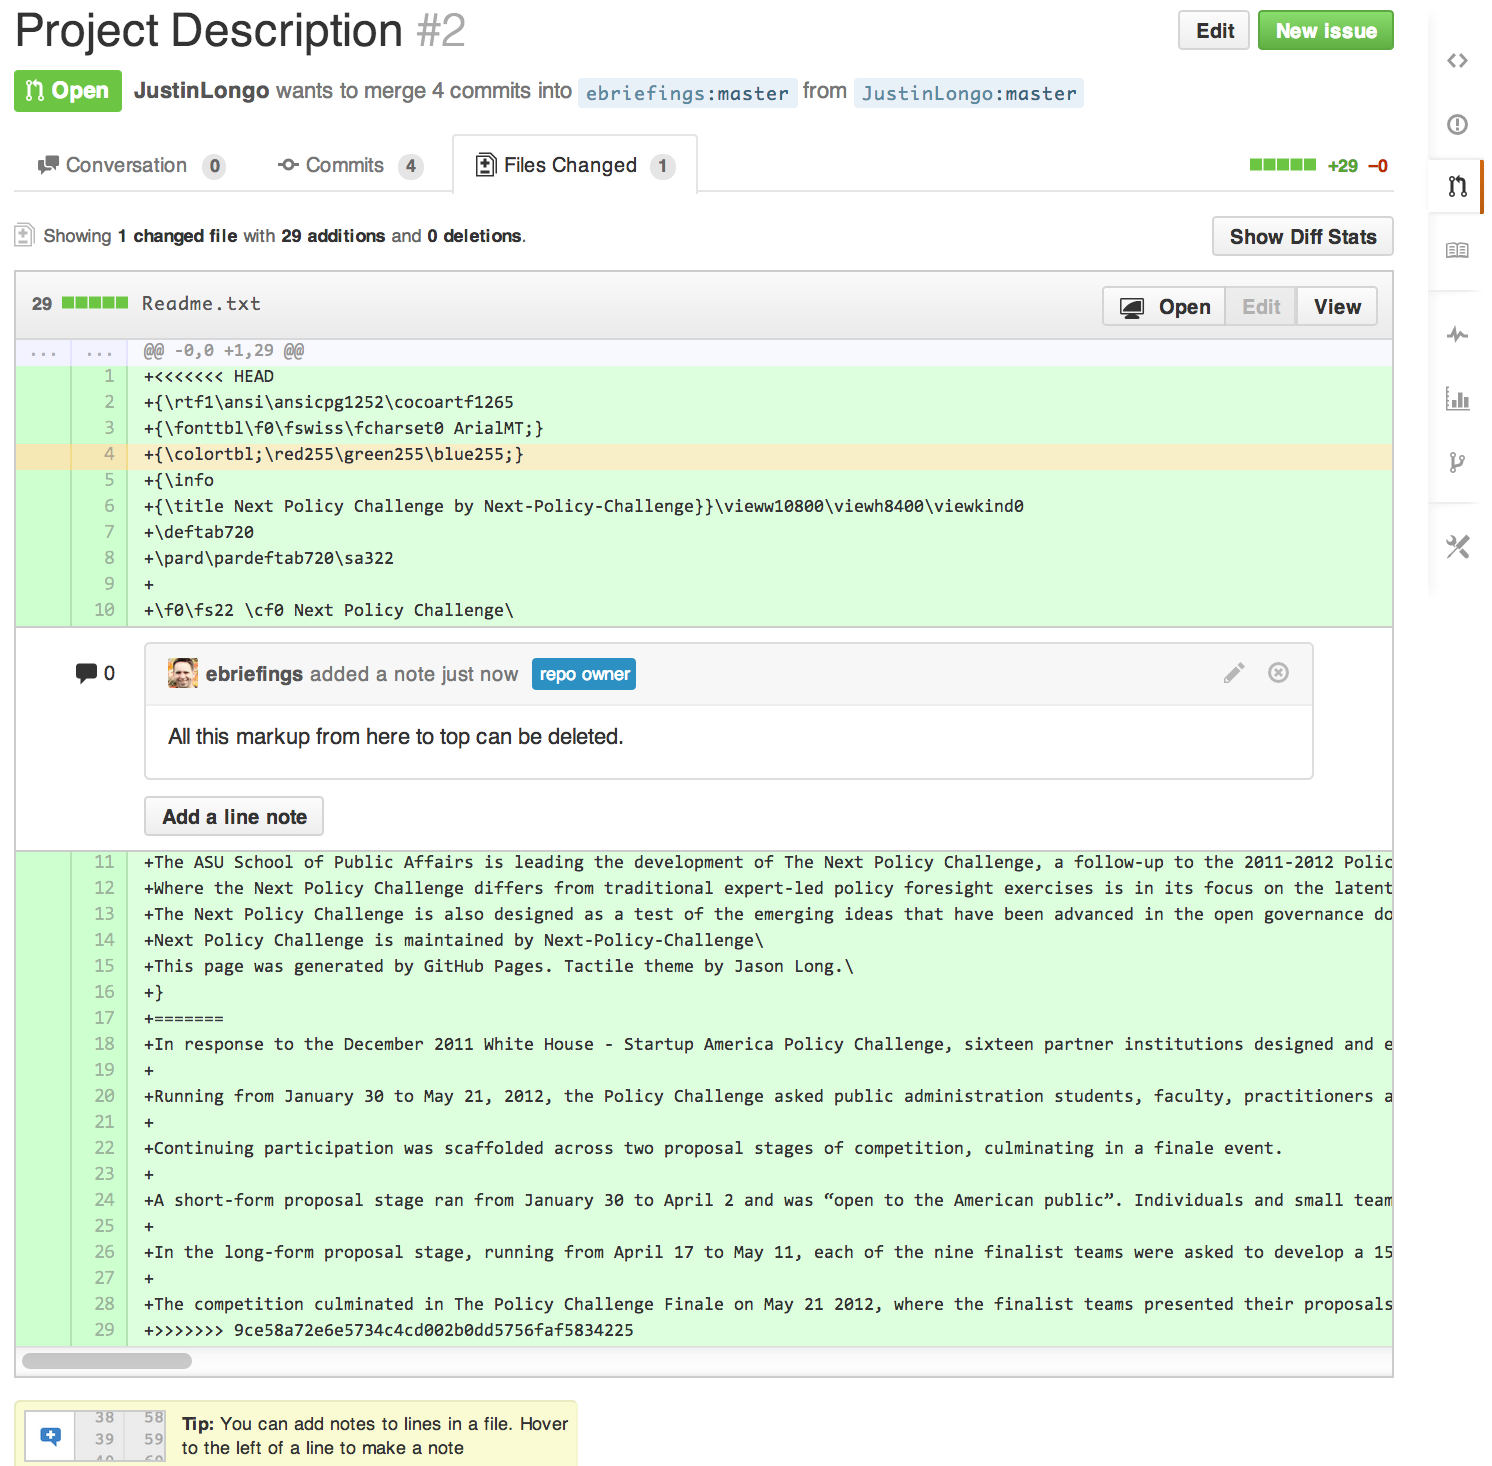
However, since there are four commits in this one pull request, and all commits are aimed at only one file, you will probably find it easier to review the “cumulative diff” across all commits. Click on the “Files Changed” tab to see this:
After reviewing the basic description, commits, and the cumulative diff, you may have questions, comments or thanks for the person who submitted it. Notice how I added a note at line 10; this note has been sent to the person who initiated the pull request. Go back to the “Conversation” tab to communicate with the other person. The discussion view starts with the pull requester's original title and description of the pull request and then captures additional activity displayed chronologically from there. |
Merging a pull request
Once you’re satisfied with the pull request, you can merge the pull request into your original repo. While there are several ways to do this, we’re only going to cover the very simple way to do it on GitHub.com (because, believe me, it can get complicated - as if it hasn't already!). This process assumes there are no conflicts in accepting the pull request and that the pull request can be automatically merged.
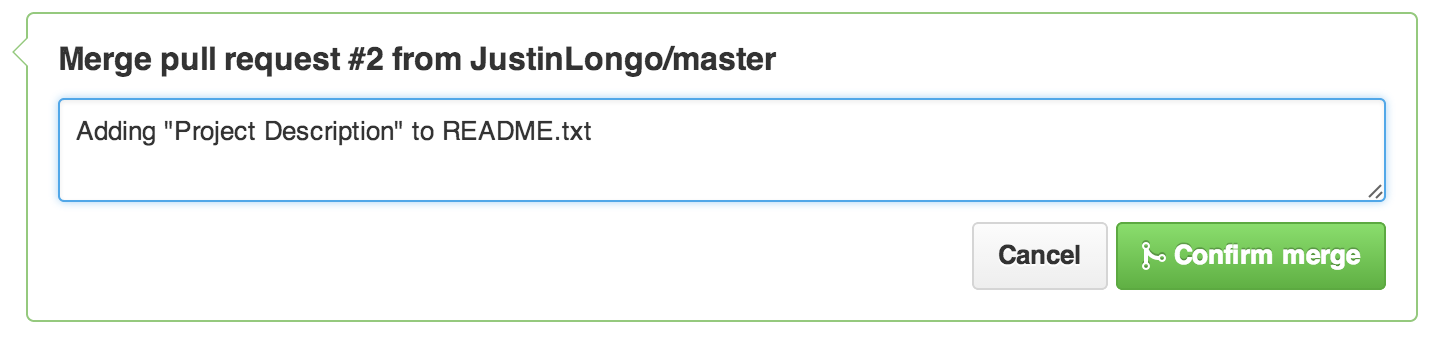
While viewing the pull request, in the view, you’ll see this below all the pull request detail:
Click the "Merge pull request" button, enter a commit message and click "Confirm merge"
This button merges the pull request into the original, sends a notification to the person who initiated the pull request and closes the pull request. That’s one magic button.
Rejecting a pull request
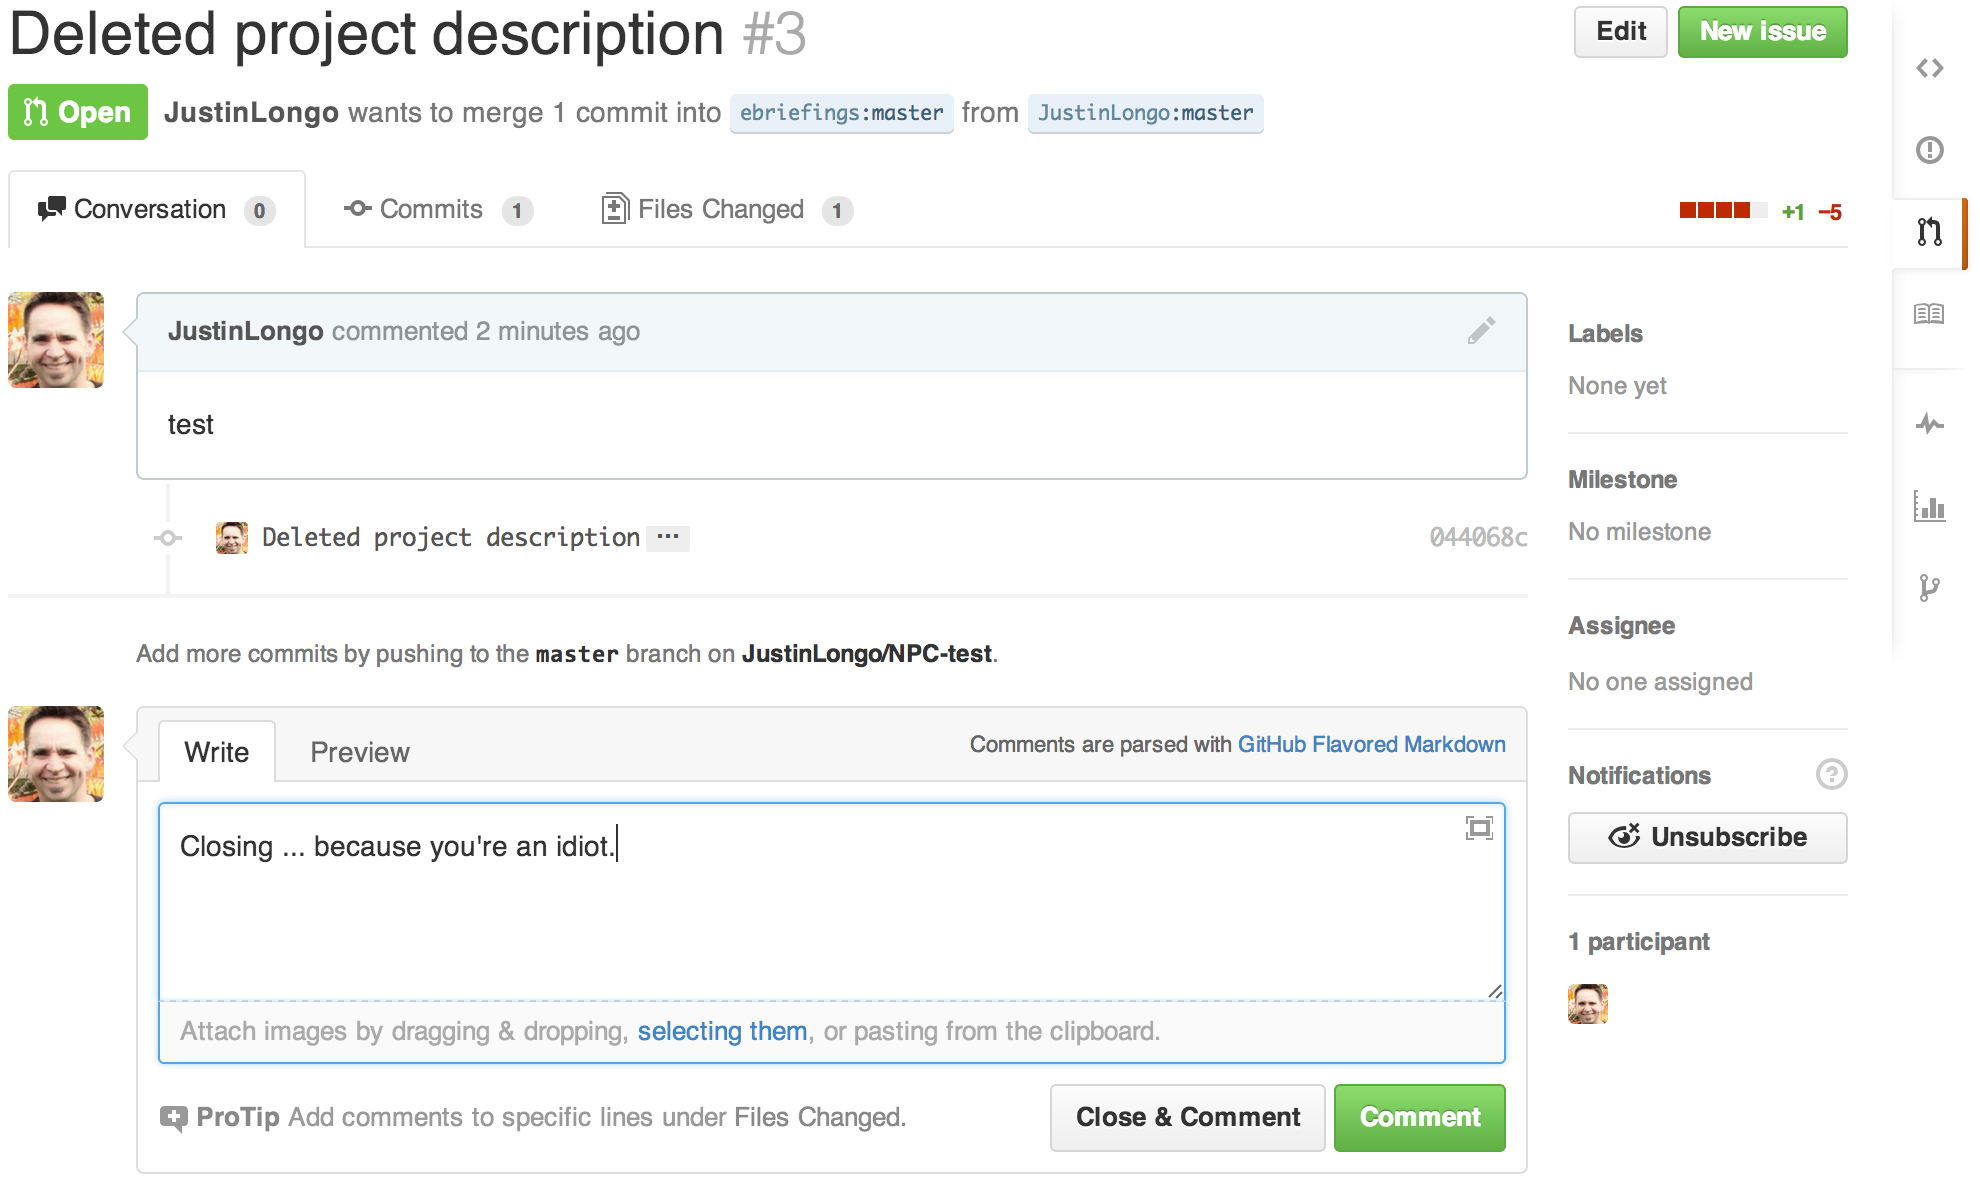
Maybe you’re asking: what if you don’t want to accept the proposed changes?
Closing a pull request will achieve this, though you will want to let the person who issued the pull request know why.
<-- type your reason for rejecting the pull request and then click “Close & Comment”. |
Okay, now we’re going to show off your GitHub prowess to the world by creating your very-own webpage on GitHub called Pages. This is different than your profile page, but will link to it.
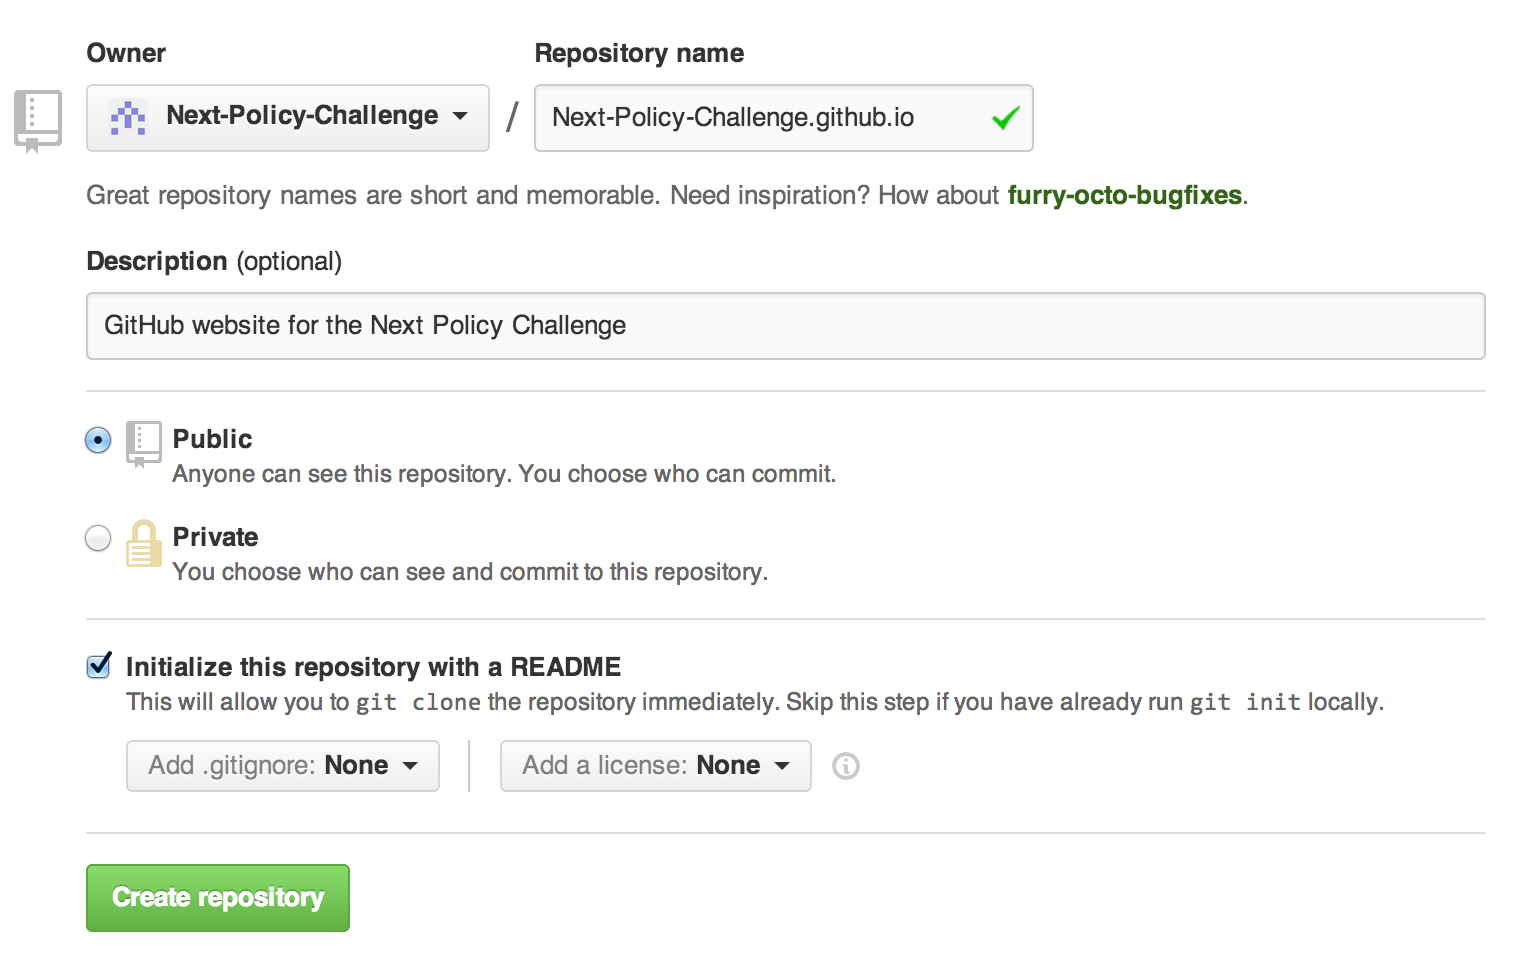
First, you need to create a special repo in your account dedicated to only the Pages files.
<-- This repository must use the username/username.github.io naming scheme
Next, create the repo as you did is step 2 above. |
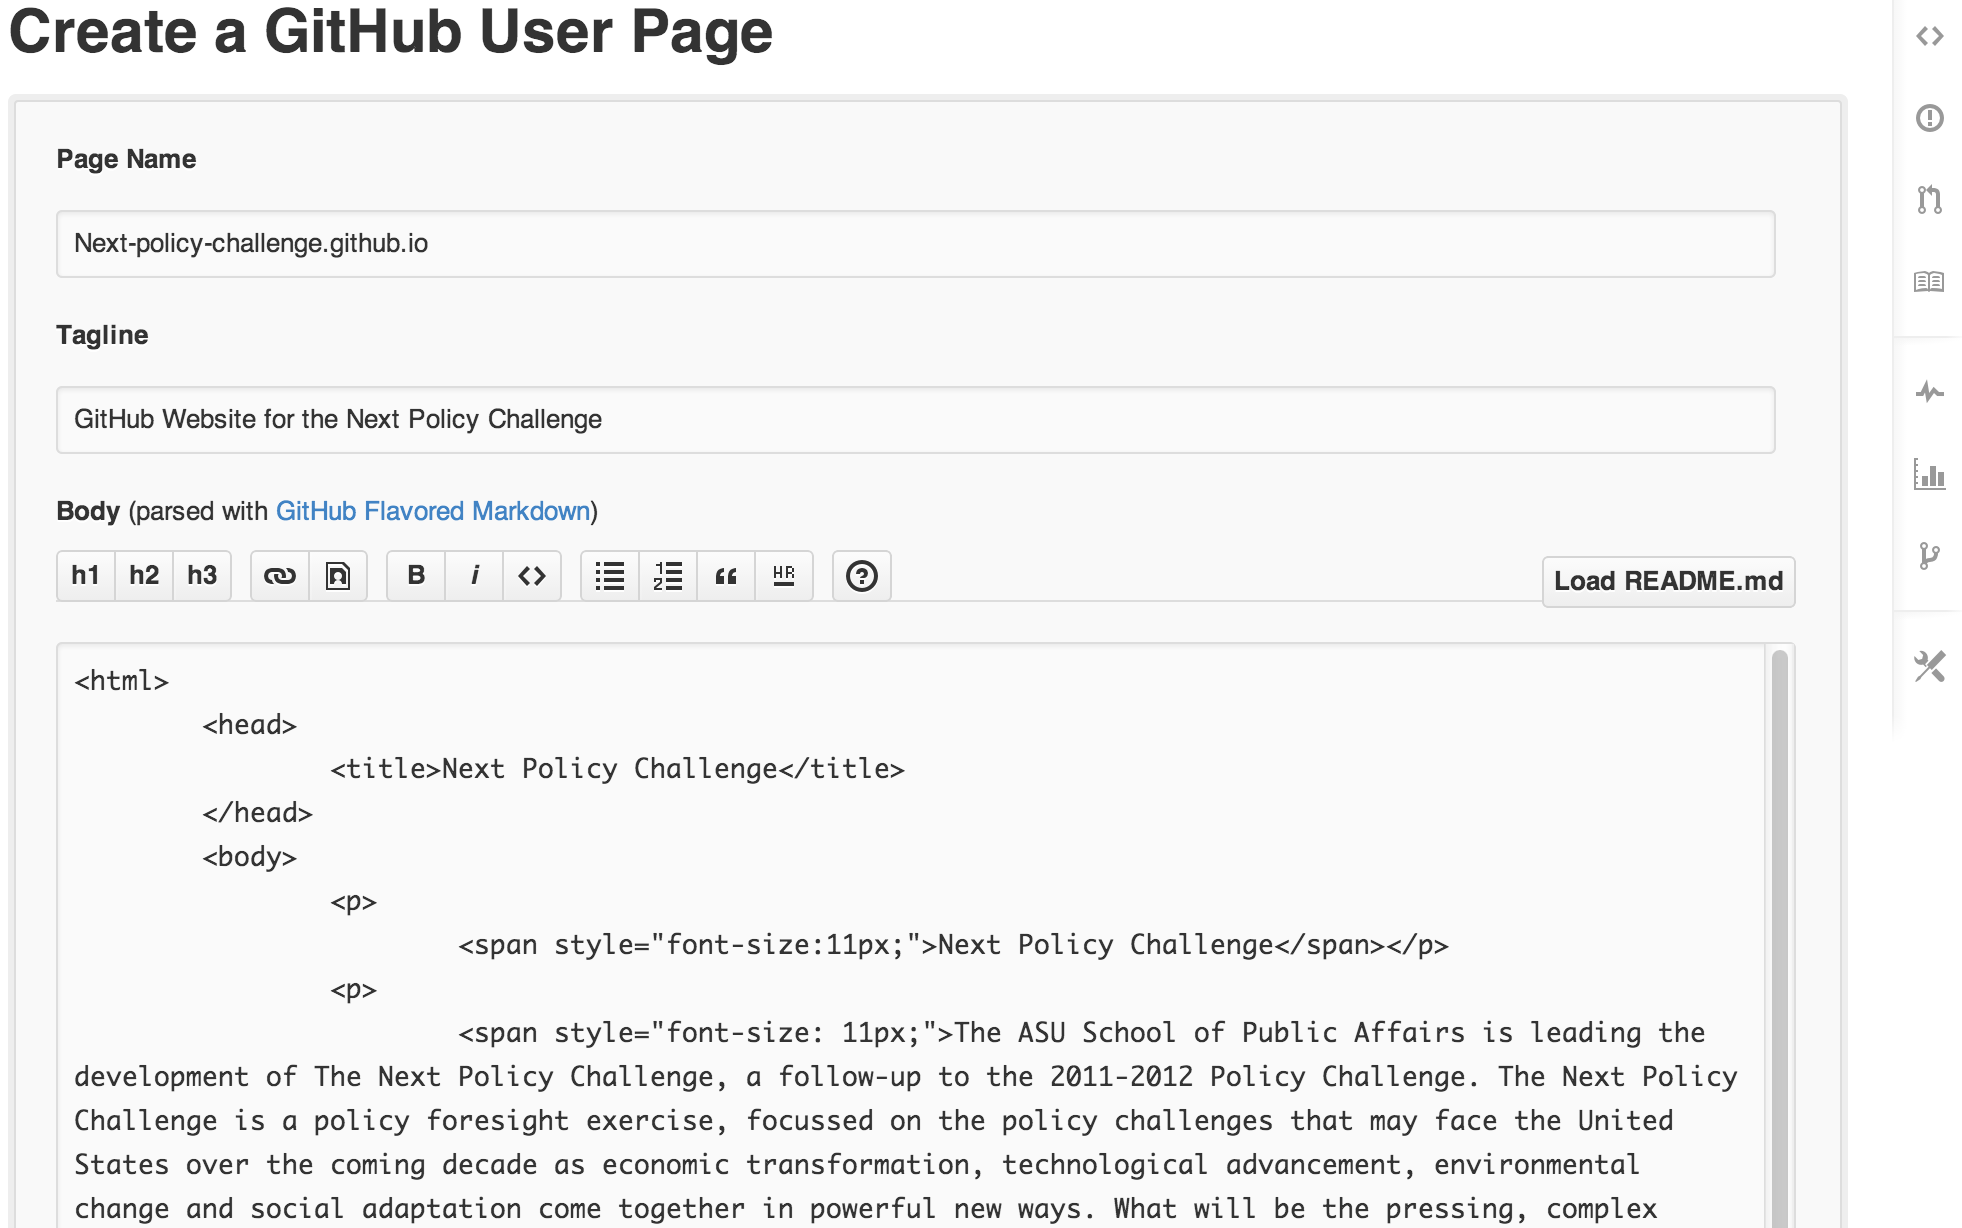
Automatic Page Generator
Creating Pages with the automatic generator is easy. Go to the main page for this dedicated repo you just created, and then click on “Settings” in the right-hand column.
Scroll down to “GitHub Pages” and click on the magical “Automatic Page Generator” button.
<-- Enter what you want your homepage to say and click on “Continue to Layouts.” |
Pick your favorite layout and click on the green checkmark to Publish your page. You’ll find your awesome page at http://yourusername.github.io
That concludes this simplified introduction to using GitHub. Check back for more tutorials on using GitHub for text collaboration.
In the mean-time, if you want to practice in a low-risk fun way, why not help us write the next great (?) version of a Cinderella Story?
Images © 2014 GitHub Inc. All rights reserved; © Apple Inc. 1983–2014; © Microsoft Corporation 2014
Except as otherwise noted,
GitHub Beginners Tutorial for the Next Policy Challenge by Justin Longo
is licensed under a Creative Commons Attribution-ShareAlike 4.0 International License.
Permissions beyond the scope of this license may be available.